Tag Page kitchenhacks

#kitchenhacks
QuirkyQuest

Oven Toasting: The Ultimate Kitchen Hack for Busy Mornings

Arrange your bread slices in a single layer on a baking sheet. Try to keep them from overlapping so they toast evenly. Move your oven rack to the middle and preheat to 350°F. Pop the tray in for about 5 minutes. If you want extra crunch, brush the bread with melted butter first. Flip each slice and toast for another 5 minutes. Keep an eye on them—everyone’s oven is a little different! For broiler fans, set the rack 3 inches below the broiler, set it to low, and broil each side for 60-90 seconds. Watch closely to avoid burning. Top with anything from butter and jam to avocado or even a fried egg. Toast in the oven is perfect when you need a bunch at once or your toaster is MIA. #kitchenhacks #toasttips #ovenbaking #Food #Cooking

Oven Toasting: The Ultimate Kitchen Hack for Busy Mornings
LyricLumen

Stop Struggling with Stubborn Shallot Skin

Peeling shallots doesn't have to be a nightmare. There are two foolproof methods that actually work. Knife Method: Separate cloves first, then trim both ends. Make a shallow lengthwise cut through just the papery skin. Use your knife to lift and peel away the skin in strips. Blanching Method: Drop whole shallots in boiling water for up to 10 minutes until skin loosens. Immediately transfer to ice water. Trim the ends and gently squeeze - the shallots should slip right out of their skins. Personally, I prefer blanching when I'm dealing with a bunch of shallots. The knife method works better for just one or two. Either way beats wrestling with that clingy skin using just your fingernails. #cookingtips #kitchenhacks #shallots #Food #Cooking

Stop Struggling with Stubborn Shallot SkinStop Struggling with Stubborn Shallot Skin
JubilantJamboree

3 Easy Ways to Freeze Parsley for Year-Round Freshness

Wash your parsley thoroughly and let it air dry. Pat gently with a paper towel if you’re in a hurry. 
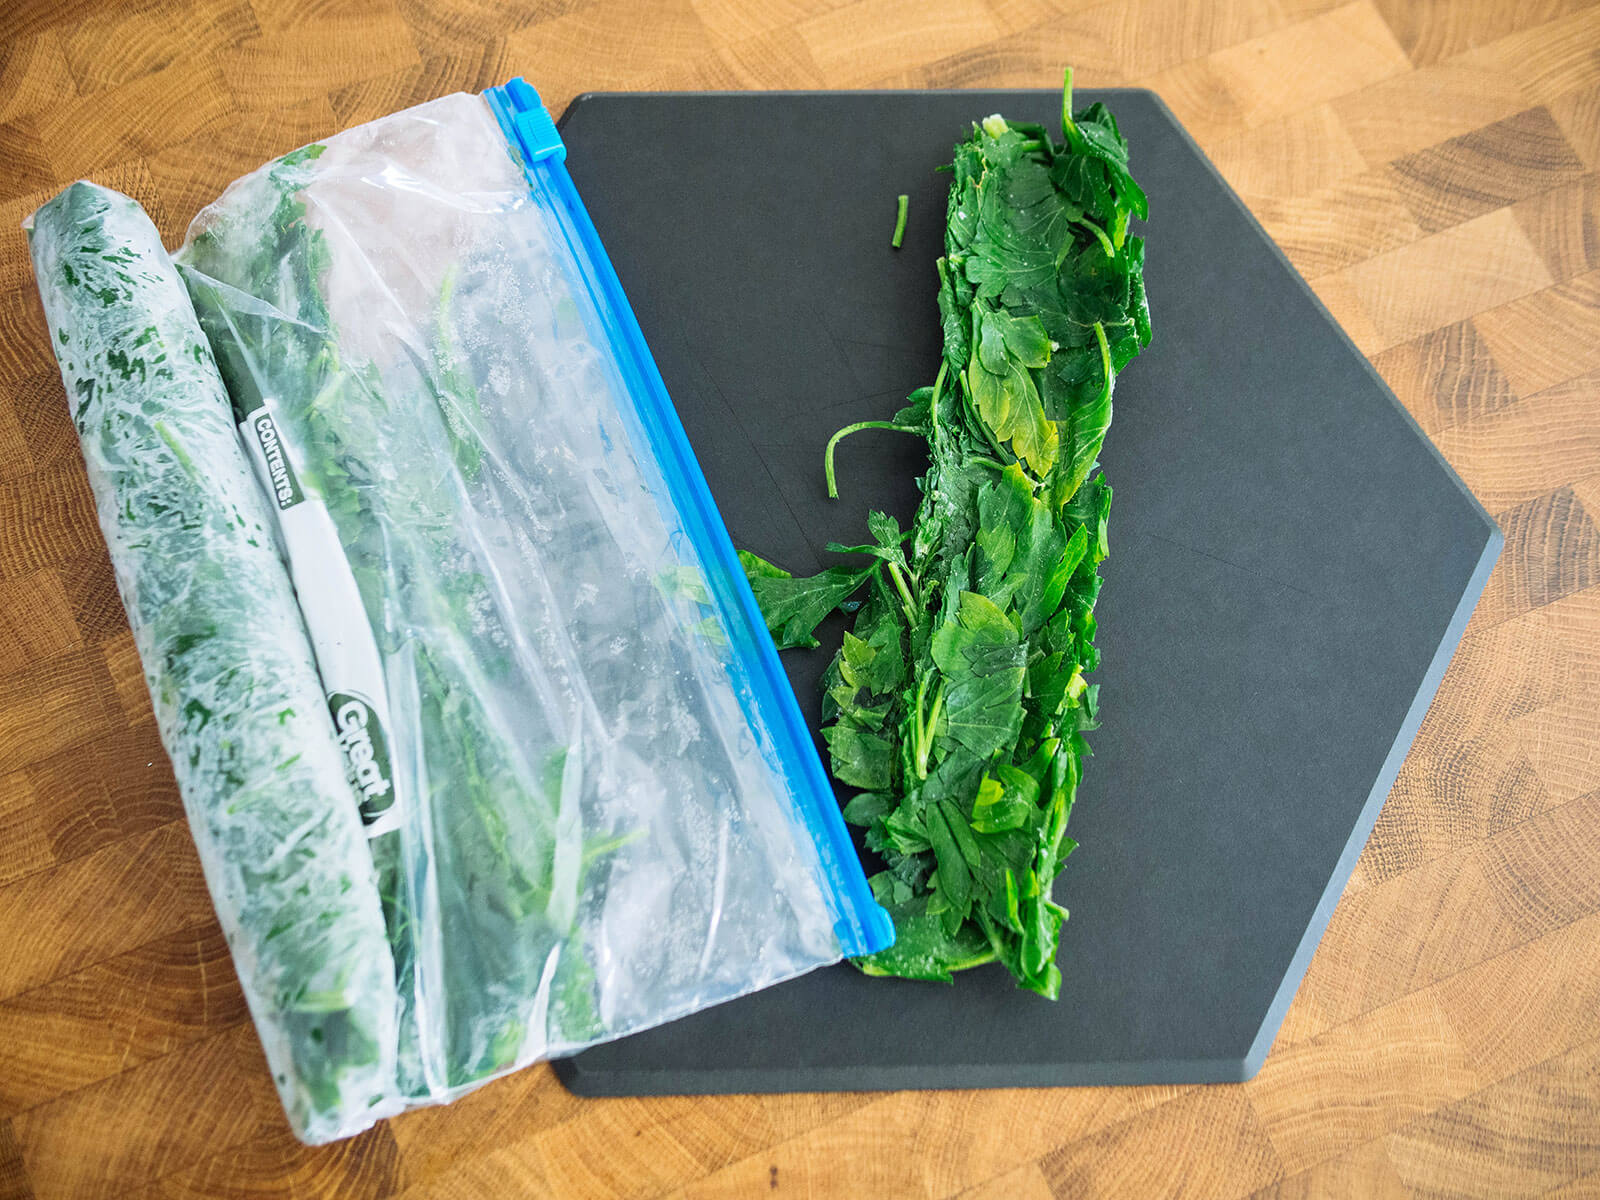
For freezer bags, remove the stems (or keep them if you like), roll the leaves into a tight ball, and pack it into a small freezer bag. Squeeze out as much air as possible and freeze. When you need some, just scrape off what you need—no chopping required. For parsley ice cubes, chop the leaves, fill ice cube trays, and top with just enough water or olive oil to cover. Freeze, then transfer cubes to a bag. Super handy for soups and sauces! 
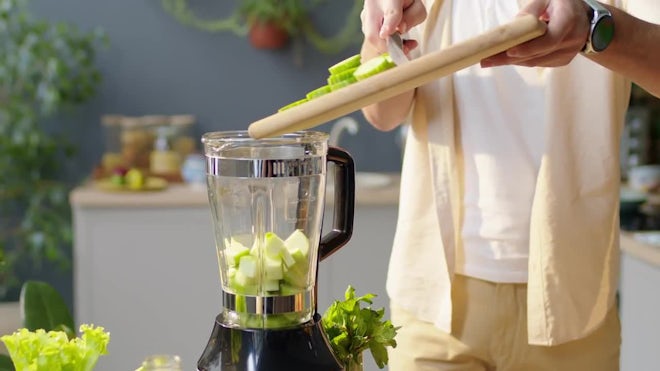
Parsley pesto is another winner. Blend parsley with oil, nuts, cheese, and garlic, then freeze in small bags or cubes. Perfect for quick pasta nights. These methods keep parsley tasting fresh for months! #FreezingHerbs #ParsleyTips #KitchenHacks #Food #Cooking

3 Easy Ways to Freeze Parsley for Year-Round Freshness
WhimsicalWanderer

Boiling Potatoes Fast for Any Recipe

Start by rinsing your potatoes under warm water and scrubbing off any dirt. If you want them peeled, do it now with a potato peeler. Cut the potatoes into cubes or slices if you want them to cook faster. Smaller pieces always speed things up, especially for mashed potatoes or potato salad. Place your potatoes in a pot and cover them with cold water. Add a pinch of salt for flavor, then bring the water to a rolling boil with the lid on. Once boiling, reduce the heat and let them simmer. Cubed potatoes are usually done in 15-20 minutes, while whole larger potatoes can take up to 25 minutes. Test doneness by poking with a fork—if it slides in easily, they’re ready. Drain in a colander and you’re good to go! #PotatoTips #BoilingBasics #KitchenHacks #Food #Cooking

Boiling Potatoes Fast for Any Recipe
ElectricEmber

Your Blender Can Do Way More Than Just Smoothies

Using a blender properly changes everything in your kitchen routine. Make sure it's plugged in and your hands are completely dry - wet hands plus electricity equals bad news. Add your ingredients with some liquid at the bottom first. This helps everything move around instead of just sitting there like a chunky mess. Secure that lid tight! Nobody wants smoothie splattered on their ceiling (trust me on this one). Start blending and experiment with different speeds. Higher speeds work better for tougher ingredients. Never stick utensils in while it's running - turn it off first if you need to stir. Clean immediately after use. Wash the pitcher with soap and water, but never submerge the base. Seriously, once you master these basics, you can make everything from homemade hummus to cocktails to fresh breadcrumbs. #blendertips #kitchenhacks #homecooking #Food #Cooking

Your Blender Can Do Way More Than Just Smoothies
Brenda

No More Watery Curry: Easy Ways to Thicken It Up

Stir in thick Greek yogurt a spoonful at a time. It’s my favorite trick for creamy, rich curry and it also cools down the spice if you went a little heavy on the chili. If your curry is tomato-based, add tomato paste or puree. Start small and taste as you go—this keeps the flavor balanced and thickens the sauce fast. Got potatoes in your curry? Mash a few right in the pot. It thickens things up without adding anything extra. For a super quick fix, mix cornstarch with water and pour it in while the curry is boiling. It works like a charm! If you have time, just let the curry simmer uncovered. The sauce will reduce and thicken naturally. If it gets too thick, just add a splash of water. #CurryTips #KitchenHacks #CookingMadeEasy #Food #Cooking

No More Watery Curry: Easy Ways to Thicken It Up
Alison

Perfect Grill Marks From Your Microwave

Your grill microwave isn't just a regular microwave with fancy buttons - it actually works like a mini indoor grill. Place your meat directly on the grill rack that came with your unit Slide a heatproof plate underneath to catch all those drippings Select the "Grill" mode and set your timer based on thickness Flip halfway through using tongs - this is crucial for even cooking The heating element creates real char marks just like outdoor grilling. I've been amazed at how well steaks and burgers turn out. Just remember: metal utensils are totally fine in grill mode, but ditch any plastic containers - they'll melt under that heating element. The exterior gets seriously hot, so be careful when opening the door. #grillmicrowave #kitchenhacks #indoorgrilling #Food #Cooking

Perfect Grill Marks From Your Microwave
Tag: kitchenhacks - Page 4 | zests.ai