Alison+FollowPerfect Grill Marks From Your MicrowaveYour grill microwave isn't just a regular microwave with fancy buttons - it actually works like a mini indoor grill. Place your meat directly on the grill rack that came with your unit Slide a heatproof plate underneath to catch all those drippings Select the "Grill" mode and set your timer based on thickness Flip halfway through using tongs - this is crucial for even cooking The heating element creates real char marks just like outdoor grilling. I've been amazed at how well steaks and burgers turn out. Just remember: metal utensils are totally fine in grill mode, but ditch any plastic containers - they'll melt under that heating element. The exterior gets seriously hot, so be careful when opening the door. #grillmicrowave #kitchenhacks #indoorgrilling #Food #Cooking10Share
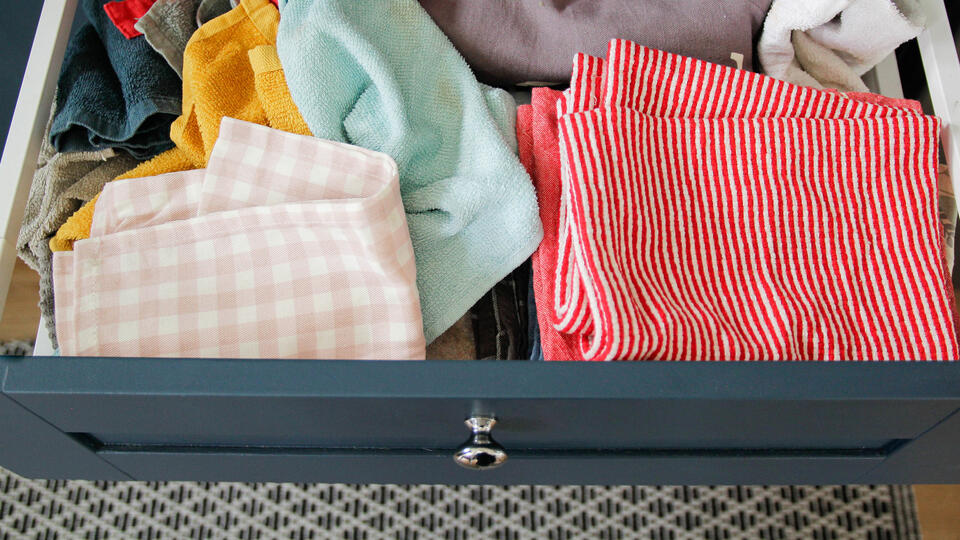
John Fitzgerald+FollowDollar Tree Bins = Kitchen Drawer Glow-UpWhy spend big on kitchen organizers when Dollar Tree bins totally do the trick? Just measure your drawers, grab a few cute plastic baskets, and boom—no more towel chaos. Sort by color, season, or size, and your drawers will look so satisfying every time you open them. Pro tip: Try the Marie Kondo fold for that perfect, Insta-worthy vibe. Cheap, easy, and your kitchen instantly feels less stressful! #DollarTreeFinds #KitchenHacks #OrganizationGoals #Home30Share
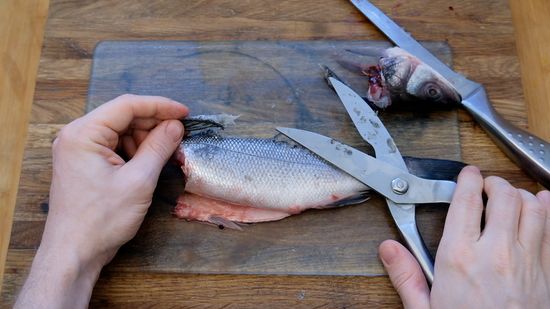
OpalMirage+FollowFish Skin Removal Made Simple: No More Slippery Mess! 🐟🔪Skinning fish used to stress me out, but once I figured out the right knife and technique, it’s not bad at all. Laying the fillet skin-side down and starting at the tail end really helps keep things under control. A sharp fillet knife is key—dull blades just shred the meat. I always put a damp towel under my cutting board so nothing slides around. When I make that first cut near the tail, I keep the blade almost flat and just work it between the skin and flesh, pulling the skin tight as I go. Sometimes there’s a little patch of skin left, but I just trim it off with the tip of the knife. Once it’s all done, the fillet is ready for whatever recipe I’m planning, no slimy skin in the way. #fishprep #kitchenhacks #seafood #Food #Cooking20Share
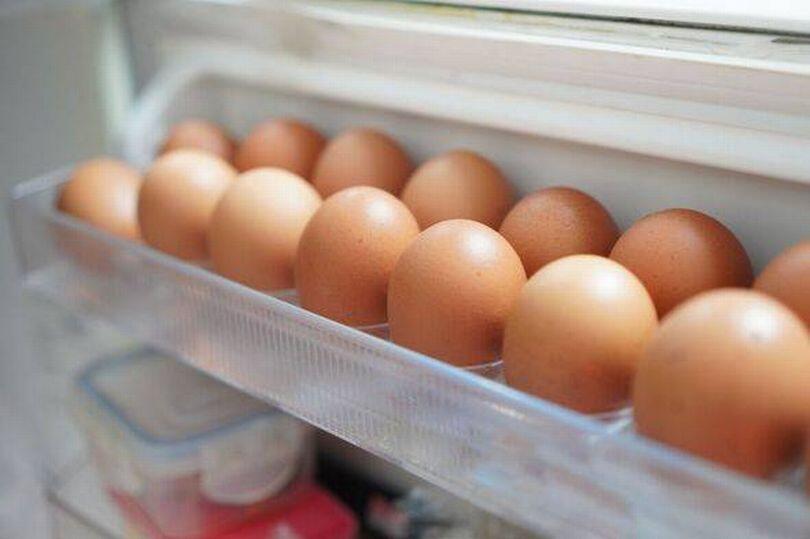
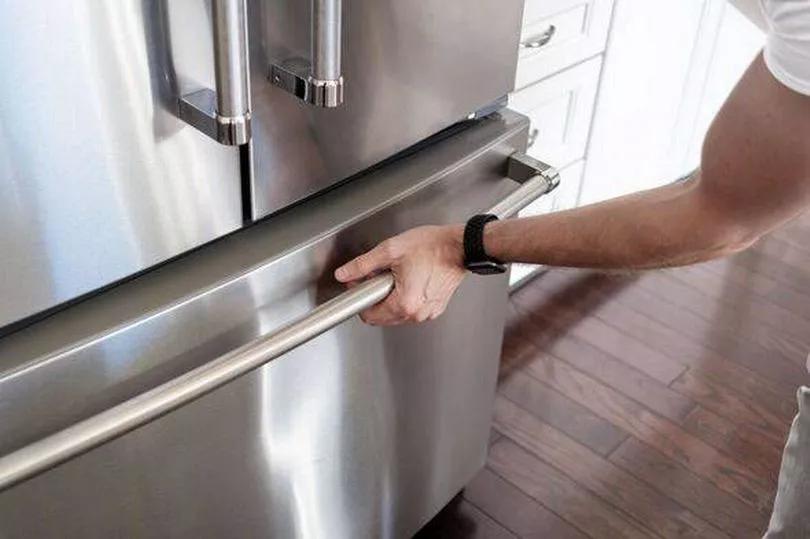
Michael Alvarez+FollowEggs Last 4 Months Longer With This Hack!Ever thrown out eggs because you missed the best-before date? Turns out, you can keep eggs fresh for up to 4 months just by freezing them! Supermarkets say eggs should go in the fridge at home, but food experts reveal you can freeze them (just crack and whisk first). Want to check if your eggs are still good? Drop them in cold water—if they sink, you’re good; if they float, toss them. Who knew saving eggs (and money) was this easy? #KitchenHacks #FoodWaste #EggTips #Food50Share
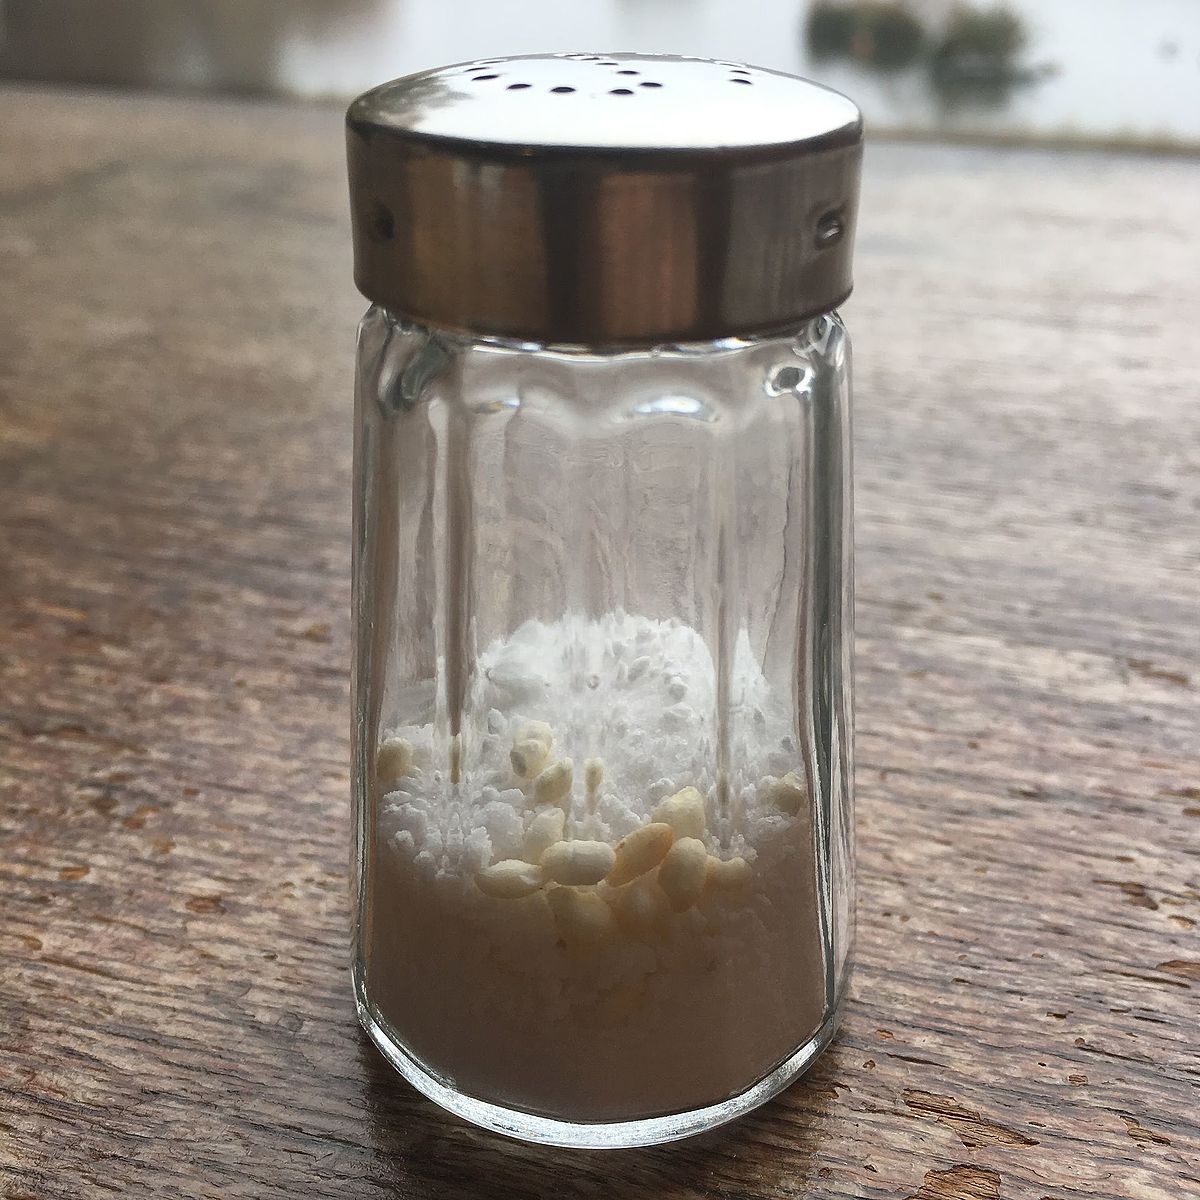
AzureWilder+FollowNo More Clumpy Salt: My Go-To Fixes for Damp Shakers!Ever tried to sprinkle salt and ended up with a stubborn, clumpy mess? 🙋♀️ Been there! Here’s how I keep my salt smooth and sprinkle-ready, even on humid days: 💡 Rice Rescue: Toss a few grains of uncooked rice into your salt shaker. The rice soaks up moisture, so your salt stays dry (and you don’t have to fish out clumps mid-cooking!). 📌 Airtight Storage: Swapping to a cute, airtight container was a game-changer for me. It keeps humidity out and salt fresh—no more surprise clumps! ⚠️ Skip the Soggy: If you notice salt sticking to the shaker holes, wipe them with a dry cloth. It stops the clumping cycle before it starts. ✅ Bonus: Coffee beans or parsley at the bottom of your shaker add aroma AND fight moisture—double win! What’s your salt hack—rice, beans, or something wild? Let’s swap kitchen secrets! #KitchenHacks #ContentCreation #PersonalBranding #Beauty00Share
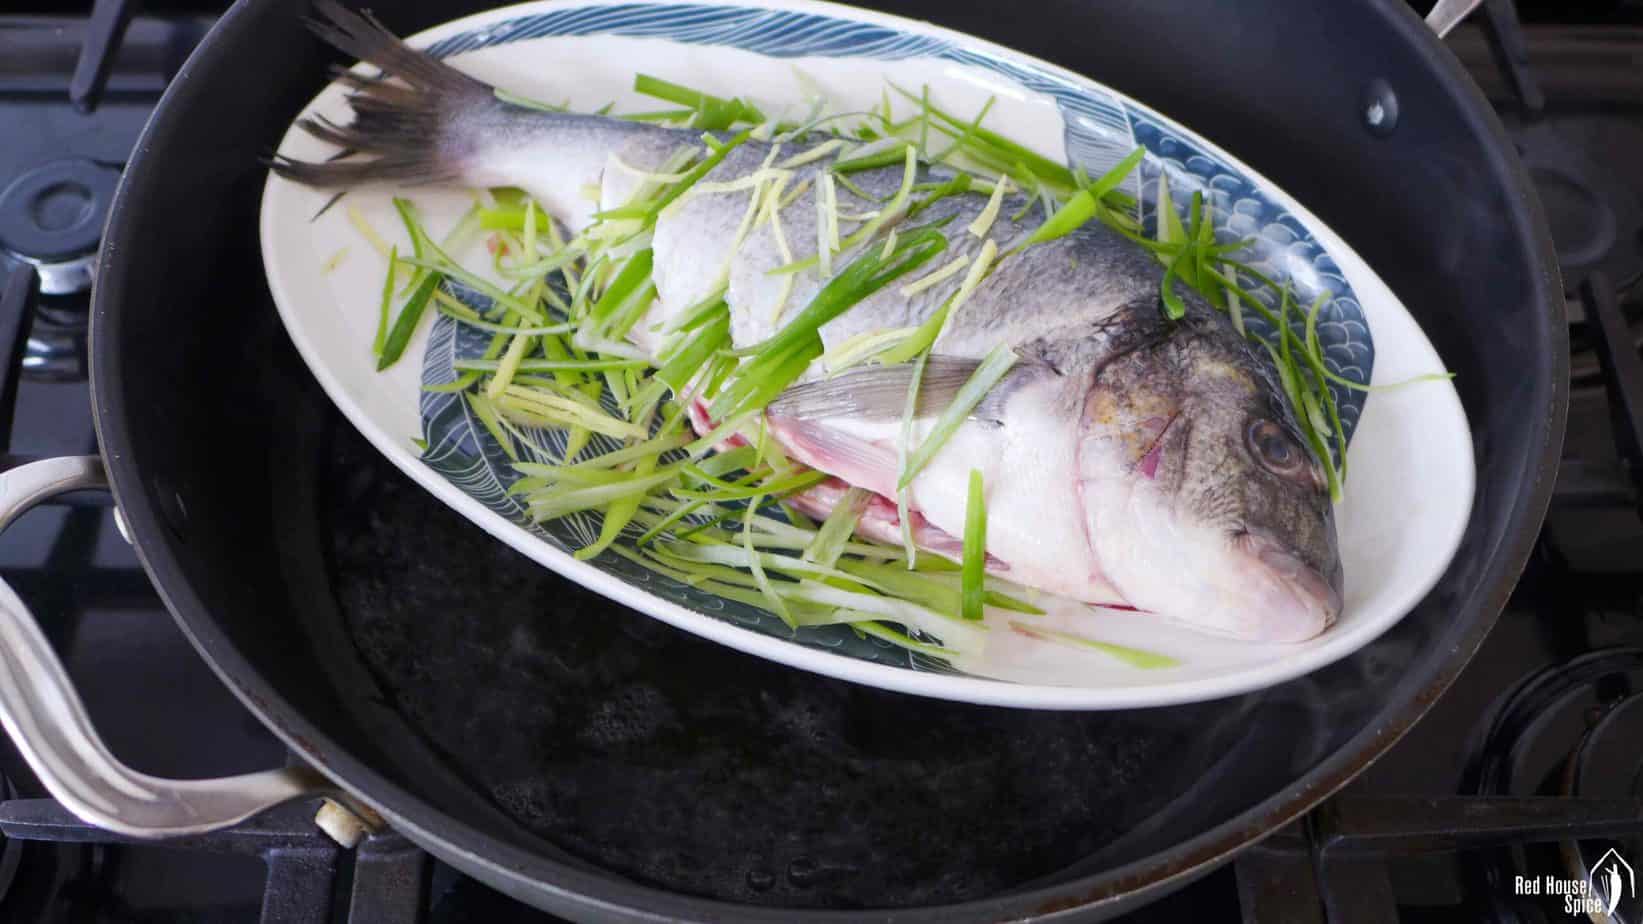
CrimsonShadow+FollowSteamed Fish Without a Steamer? Easy DIY Method!Place a metal cooking ring (or a large cookie cutter, or even a few balls of aluminum foil) in the center of a deep pot. This keeps your plate above the water. Pour in about 2 inches of water—just enough so it doesn’t touch the plate you’ll use for the fish. Set a heat-safe plate (smaller than your pot) on top of the ring or foil balls. Make sure it’s steady and can hold your fish. Bring the water to a low boil over medium-high heat. When you see steady steam, add your seasoned fish to the plate, leaving space between pieces. Cover the pot and steam for 5-7 minutes (thicker cuts may need up to 12). Fish is done when it’s opaque and flakes easily. This method keeps the fish moist and flavorful, and you don’t need any fancy equipment! #SteamedFish #KitchenHacks #HealthyCooking #Food #Cooking00Share
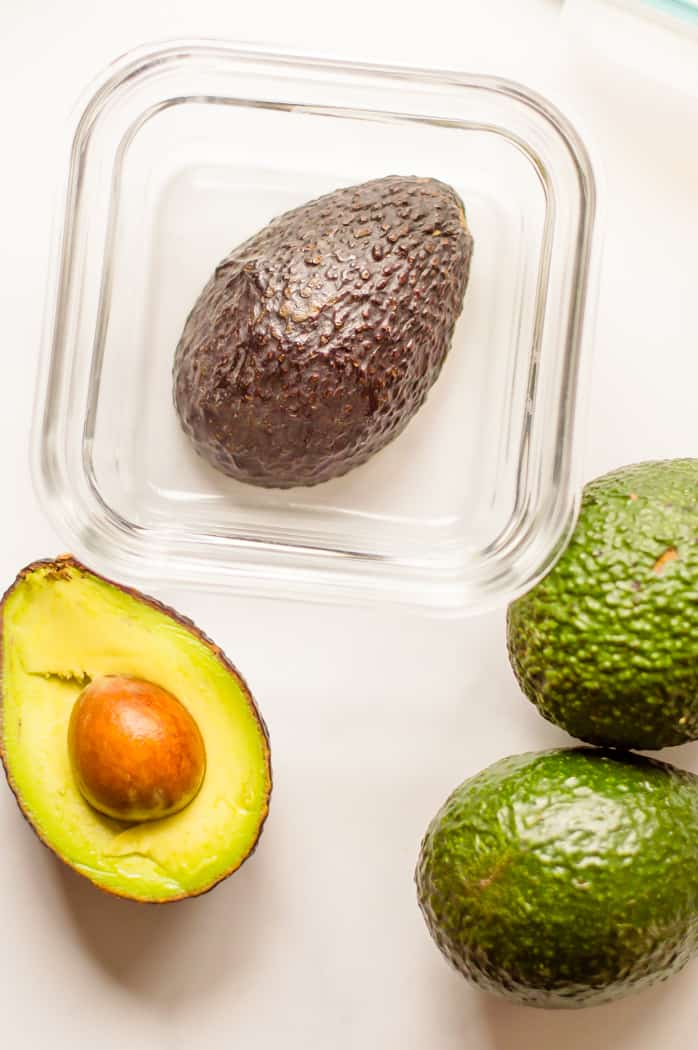
NovaNimbly+FollowAvocado Lovers: Keep Them Fresh Longer!First, check if your avocado is unripe by its bright green color and firm feel. Don’t squeeze too hard—just a gentle press in your palm does the trick. Leave unripe avocados on your counter for 4-5 days. Once they’re ripe (dark skin, soft to the touch), eat them within 1-2 days for the best flavor. If you want to slow down ripening, pop unripe avocados in the fridge. They’ll last up to 2 weeks this way! Take them out 2 days before you plan to eat so they can finish ripening at room temp. For ripe avocados, store them whole in the fridge for up to 3 days. If you only need half, rub some lemon or lime juice on the flesh, cover tightly with plastic wrap, and refrigerate. Want to save them even longer? Puree with lemon juice and freeze for smoothies or guac later. Super easy! #AvocadoTips #KitchenHacks #FreshAvocados #Food #Cooking40Share
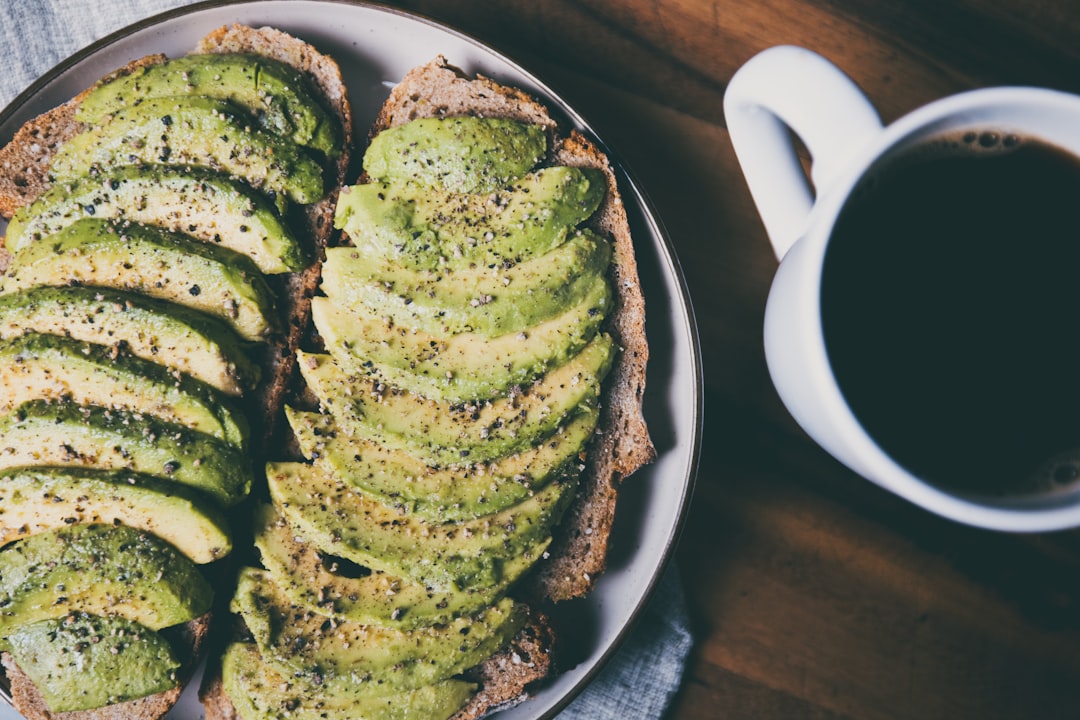
VelvetVoyager91+FollowAvocado Slicing Made Easy for Toast Lovers!Cut your avocado in half and remove the pit. Gently peel each half—no need to scoop, just peel the skin right off. Place the avocado flat-side down on your cutting board. Slice it vertically into thin, even strips. This is the trick for that restaurant-style look! Use the back of your knife to pick up the slices without squishing them. Lay the strips out on your toast or plate, then top with your favorite seasoning. I’m obsessed with everything but the bagel seasoning and a drizzle of hot honey. Instantly feels fancy and tastes amazing! Try this method for your next brunch or snack—your avocado toast will look and taste next-level. #avocadotips #toastupgrade #kitchenhacks #Food #Cooking10Share
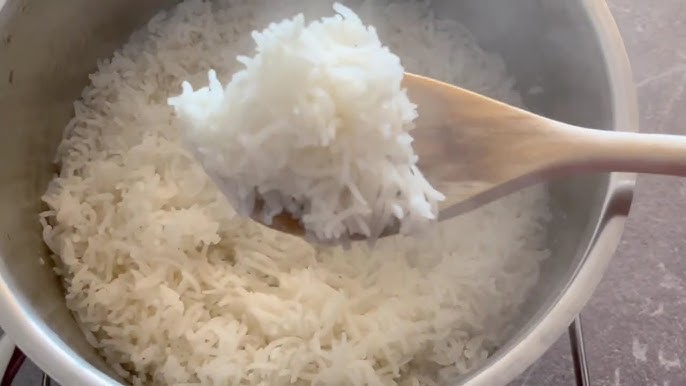
LunarWhisper+FollowFluffy Rice Every Time: My Foolproof StepsOnce your rice is cooked, take the pot off the heat and let it sit with the lid off for 10 minutes. This is the secret to letting the steam escape and getting that perfect texture. If you’re worried about flies, just drape a clean cotton tea towel over the pot. Works like a charm! Grab a carving fork or rice paddle and gently fluff the rice for about a minute. Don’t use a spoon—trust me, it’ll make the rice mushy. Just break up any lumps and let the grains separate. Want to add some flavor? Try cooking your rice with chicken stock, or sauté garlic and onions before adding the rice. You can even mix in coconut milk, scallions, or a bit of brown sugar for a twist. Store leftovers in an airtight container in the fridge for up to 5 days, or freeze for up to 6 months. Fluffy rice is always ready for your next meal! #fluffyrice #ricetips #kitchenhacks #Food #Cooking400Share
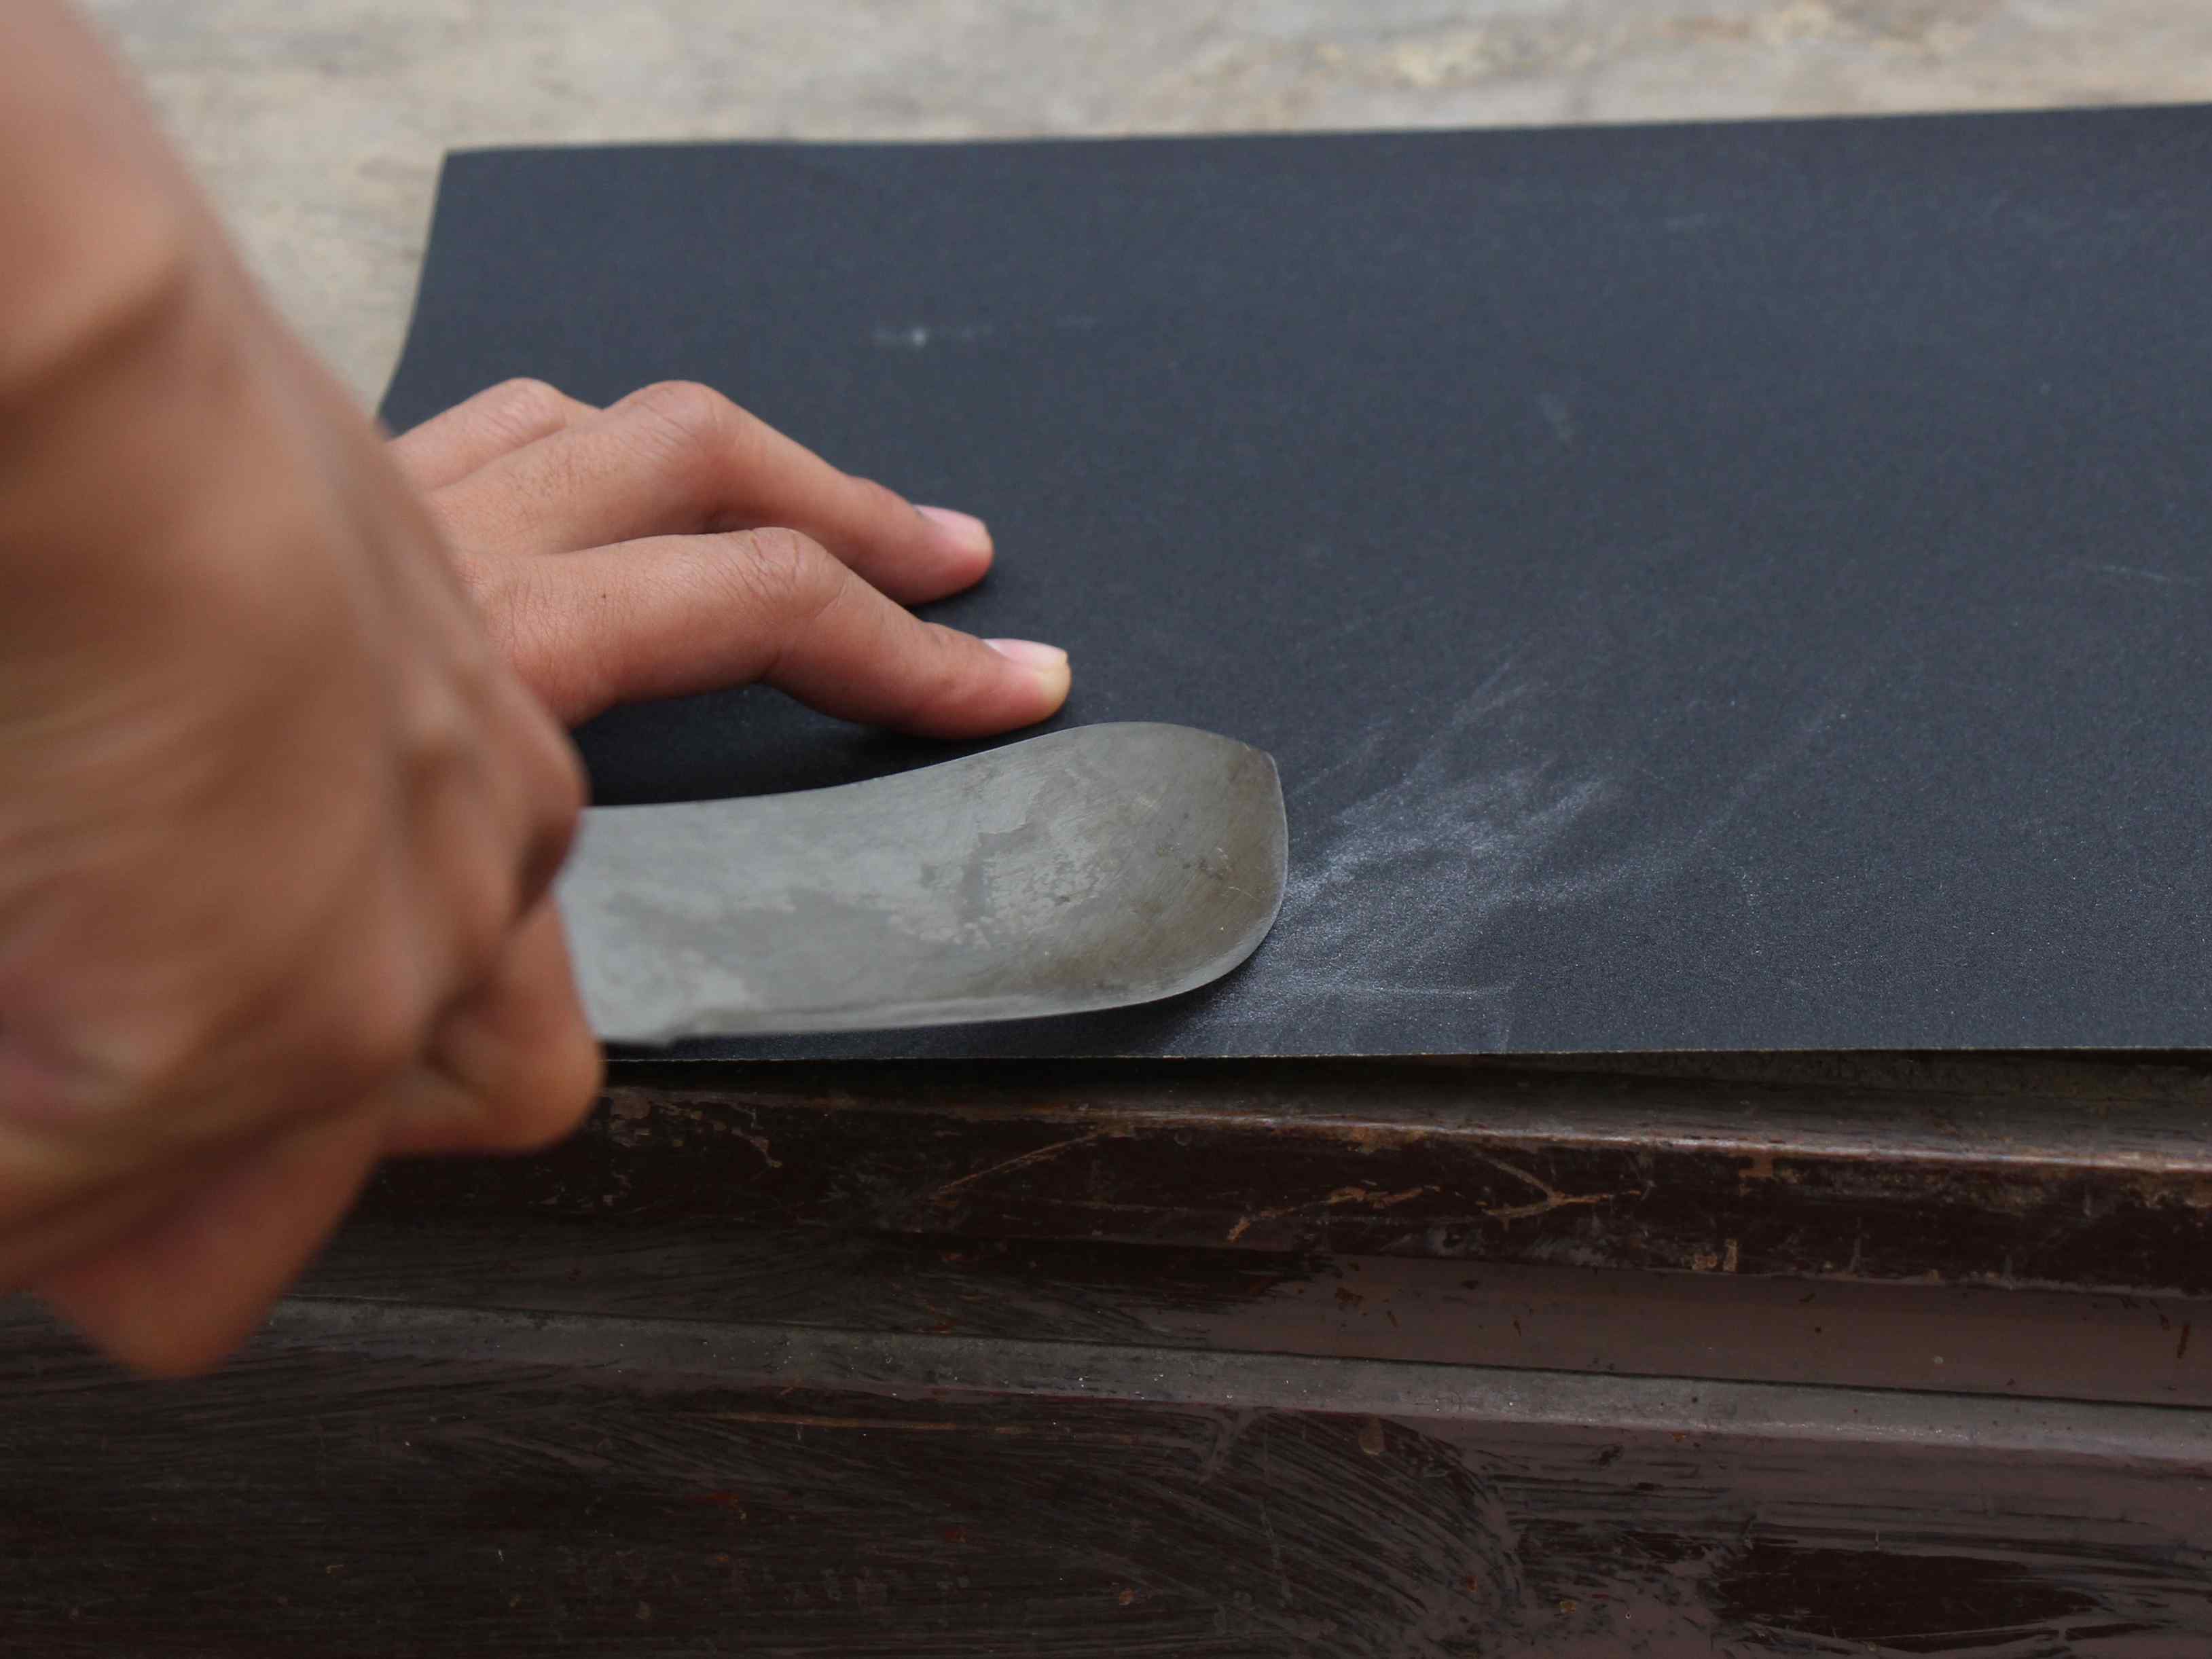
EchoingEden+FollowSharp Knives with Just Sandpaper? Here’s How I Do ItGrab a sheet of #180 or #240 grit "Wet-or-Dry" silicon carbide sandpaper. These are cheap and easy to find at most hardware stores or even Walmart. Lay the sandpaper, grit side up, right at the edge of a flat surface like your kitchen counter or a sturdy cutting board. This makes it way easier to control the knife. Hold your knife by the handle and slide the blade across the sandpaper at about a 20° angle. Imagine you’re slicing a thin layer off the sandpaper. Always move the knife forward, never backward or in circles. Don’t press too hard—just steady, even strokes. Flip the knife and repeat the same motion on the other side. Alternate sides every few strokes to keep things even. If your knife has a curve, lift the handle a bit as you move to make sure you hit the whole edge. This method is surprisingly effective and keeps my knives sharp without any fancy tools. #KitchenHacks #KnifeSharpening #DIYTips #Food #Cooking41Share