PeacefulVoyage+FollowUtensils Look Brand New Every 6 MonthsHere’s my go-to routine for making kitchen utensils shine like new every six months. Fill your sink with hot water and add a generous splash of white vinegar. Let your utensils soak for 15 minutes. Sprinkle baking soda on a sponge and scrub each utensil, focusing on any stubborn spots or stains. Rinse thoroughly with warm water, then dry with a clean towel. For extra shine, rub a drop of olive oil on stainless steel utensils and buff with a soft cloth. It’s wild how much difference this makes—my utensils always look fresh out of the box. Definitely worth the little bit of effort every six months! #KitchenHacks #cleaninghacks #utensilcare #Food #Cooking30Share
HarryTheo+FollowCrispy Taco Shells in Your Oven—No Frying Needed!Grab your favorite tortillas and flip a cupcake pan upside down. Drape each tortilla over two cups so they form a shell shape. Pop the pan in the oven at 350°F and bake until the tortillas are golden and crispy—usually about 10 minutes. Let them cool for a few minutes before filling with your go-to taco fixings. This trick makes the perfect crunchy shell without the mess of frying. Seriously, it’s my new favorite way to make tacos at home! So good for gym guys😂 #kitchenhacks #tacotuesday #easyrecipes #Food #Cooking471Share
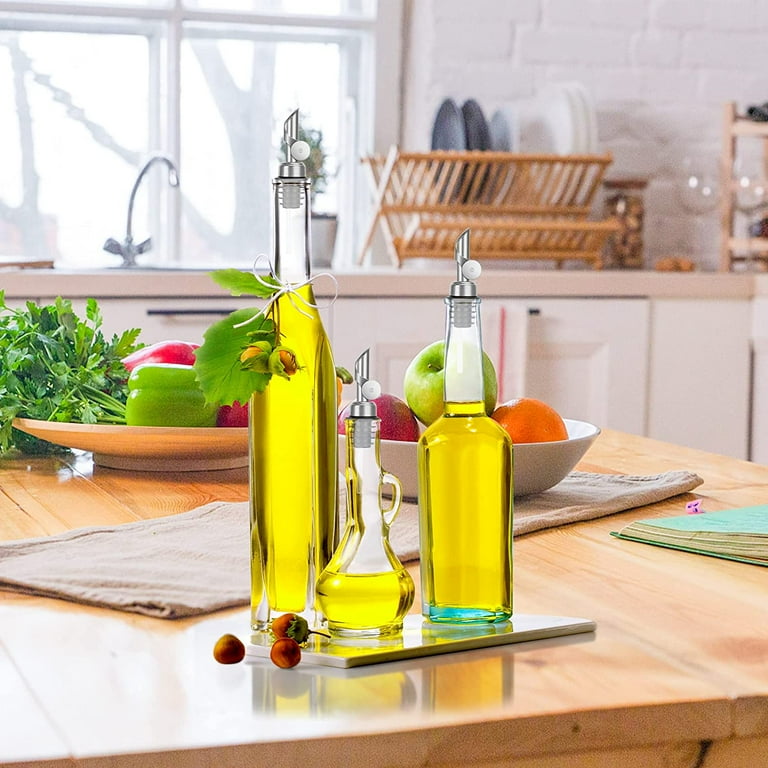
Alison+Follow3 Kitchen Must-Haves That Saved My Counter SpaceSwap out all those mismatched oil and sauce bottles for modular pour spout bottles. It instantly makes your counters look neater and you can fit way more varieties in less space. Install adjustable counter crumb catchers between your stove and countertop. I used to constantly drop crumbs in that impossible-to-clean gap, but now cleanup is a breeze and my kitchen stays spotless. Hang a fruit hook under your cabinets for bananas or other fruit. It keeps them off the counter, helps them last longer, and just makes the whole kitchen feel less cluttered. If you’re tight on space, these three simple swaps make a huge difference in both function and style! #kitchenhacks #spacesaving #kitchengadgets #Food #Cooking30Share
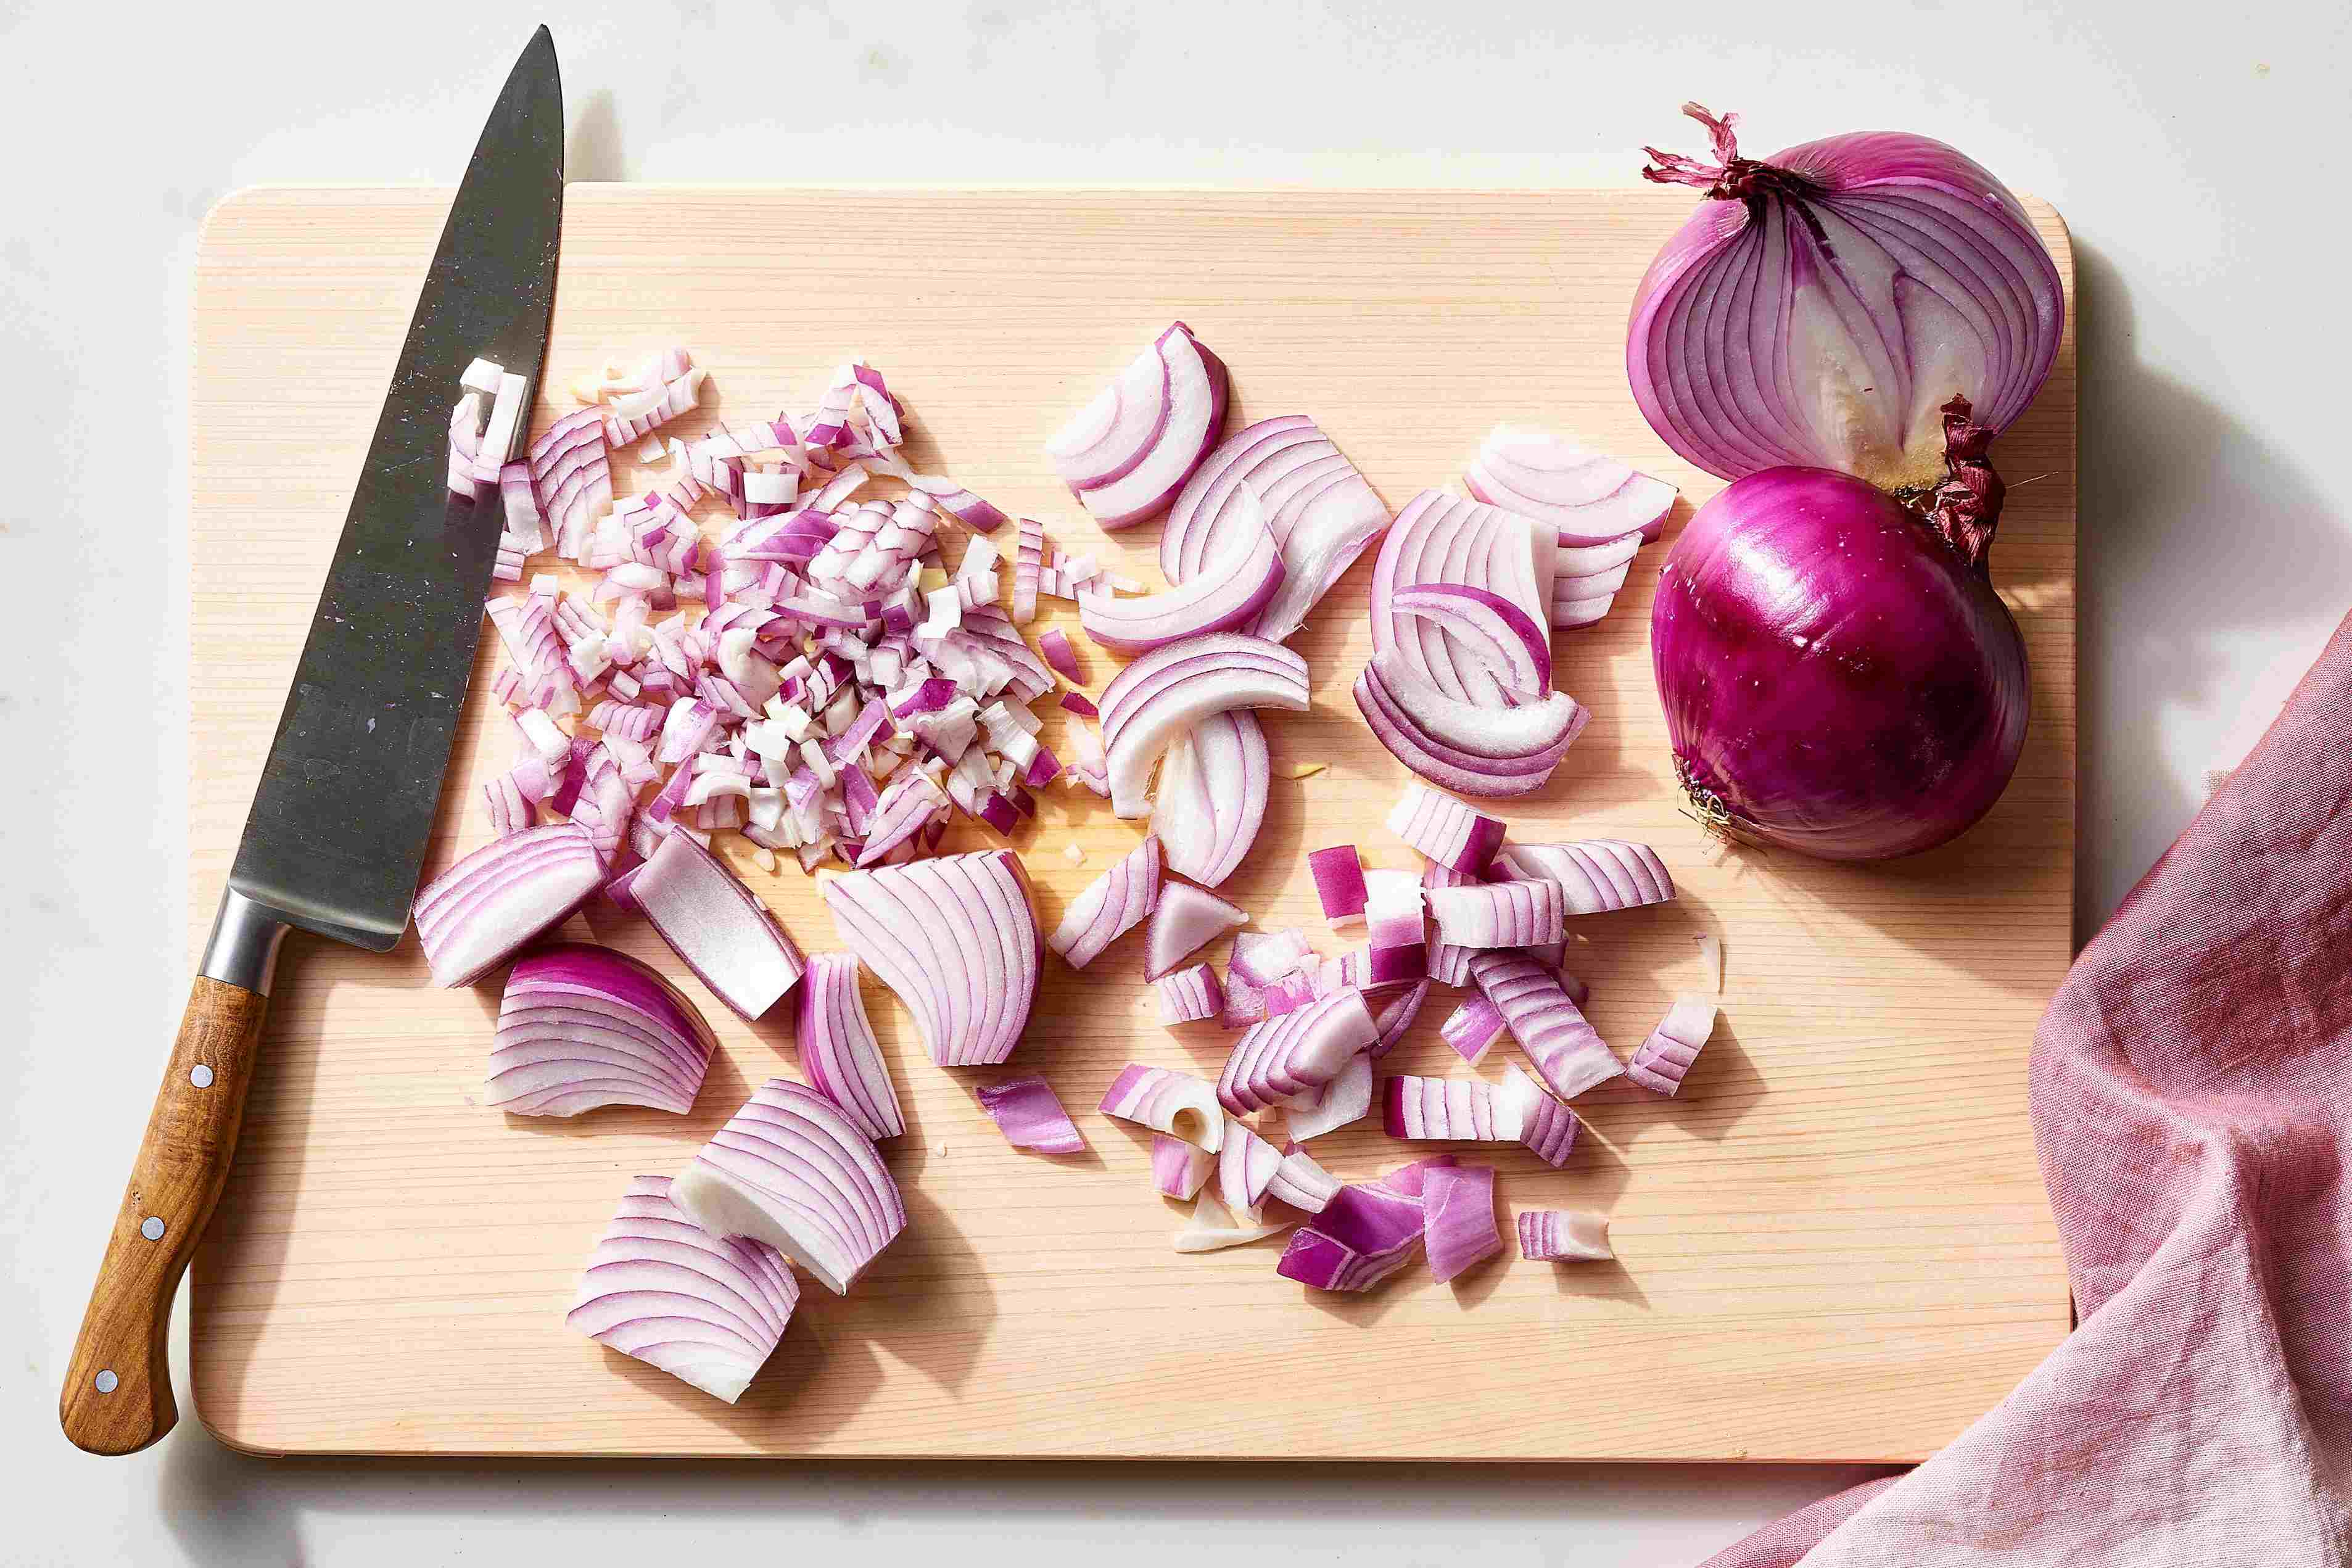
HeroicHues+FollowChop Onions Without Tears Every TimeIf you’re tired of crying every time you chop onions, this trick is a lifesaver. Here’s how to do it: Pop your onion in the freezer for about 10 minutes before you start chopping. Once it’s chilled, peel and slice as usual. The cold slows down the release of the compounds that make your eyes water. If you’re in a rush, just cut both ends off and rinse the onion under cold water before chopping. I use this every time, and it really makes meal prep so much easier. No more stinging eyes or running mascara in the kitchen! #kitchenhacks #cookinghacks #oniontrick #Food #Cooking31Share
Alison+Follow4 Must-Try Kitchen Hacks for Fast, Mess-Free Cooking!Coat your measuring spoons or cups with a tiny bit of oil before scooping up sticky stuff like honey or syrup. Everything slides right out—no more scraping or wasted ingredients! Forget the bulky juicer. Grab a pair of kitchen tongs, place half a lemon or lime between the arms, and squeeze. You’ll get every drop of juice with barely any effort. Struggling with stubborn jar lids? Two quick fixes: install an under-cabinet jar opener, or just wrap a thick rubber band around the lid for extra grip. Both work like a charm. For mac and cheese fans, squeeze every last bit of cheese sauce from the packet by pressing it between your hot pan and the lid. No more wasted cheesy goodness! Try these out and see how much smoother your kitchen routine gets! #KitchenHacks #CookingShortcuts #BackToSchoolMeals #Food #Cooking60Share
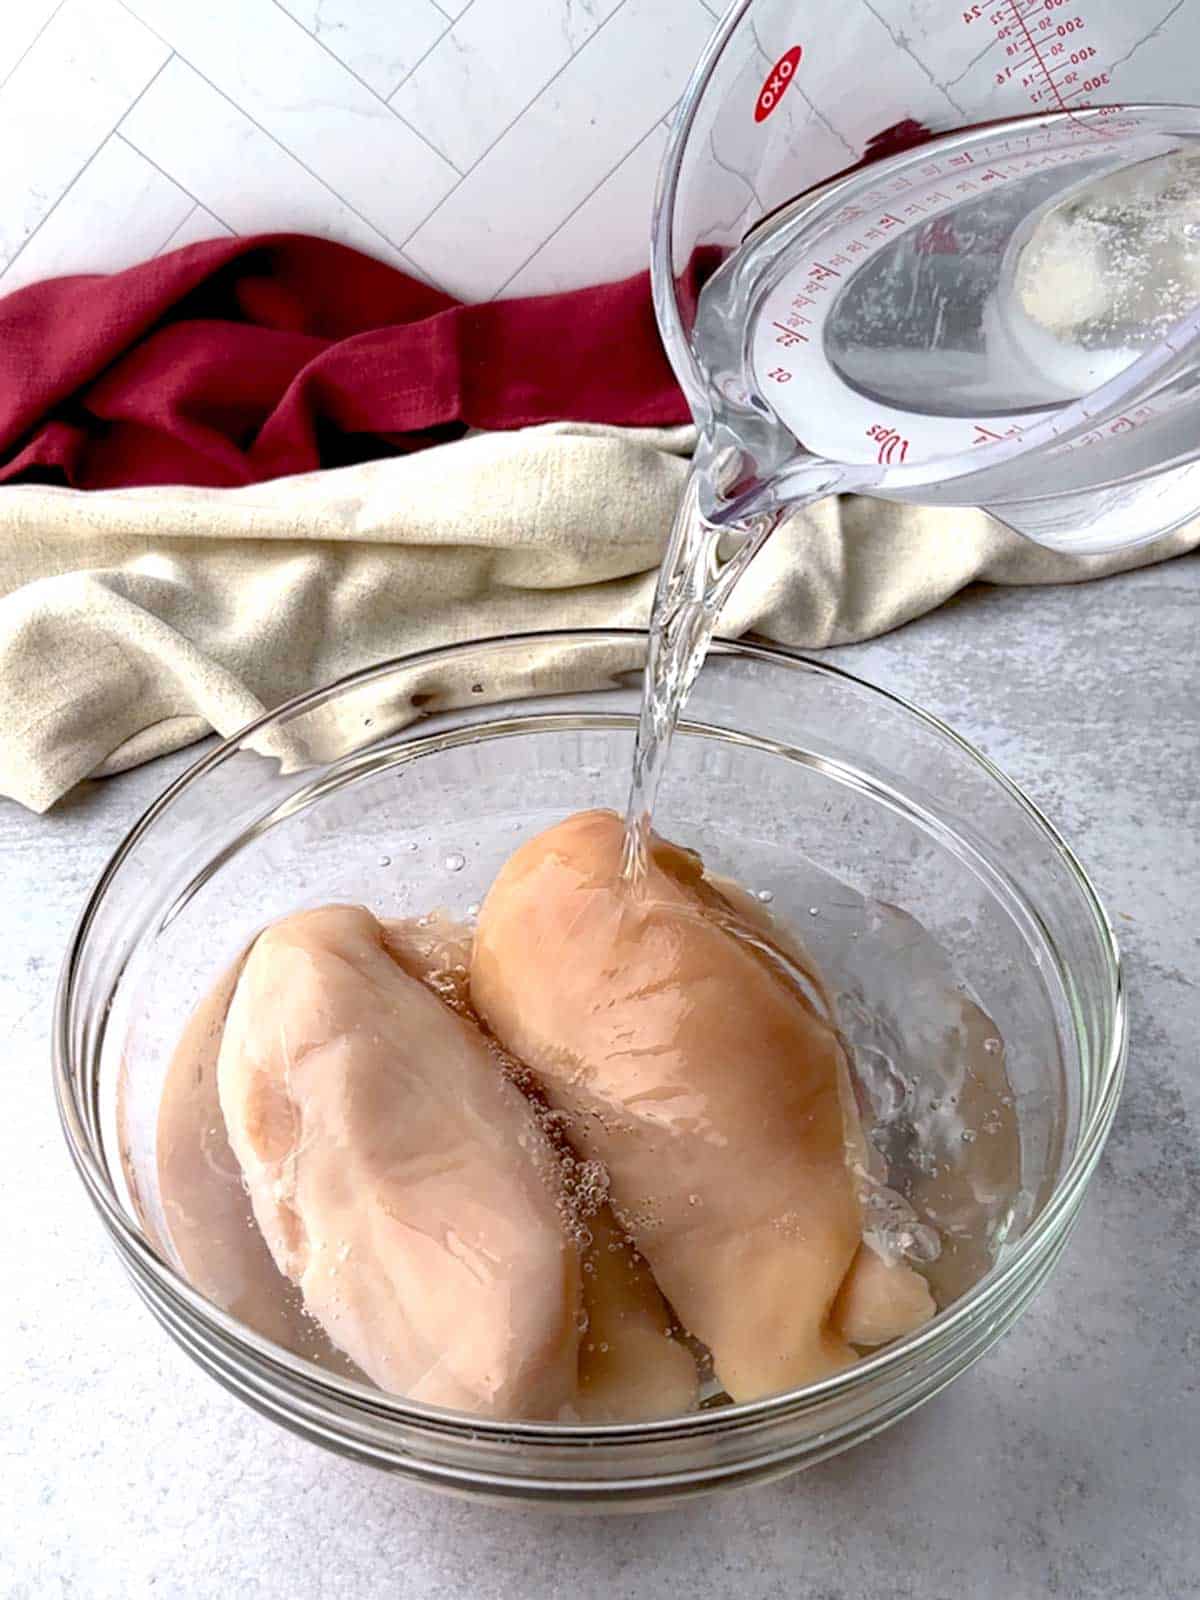
ArcticVine+FollowTried Brining Chicken for the First Time—Here’s What Happened 🧂🍗Brined some chicken breasts last night using a basic saltwater mix—1 cup salt, 1 cup sugar, garlic powder, black pepper, and hot water. Let them soak in the fridge for about an hour since they were pretty thick. I made sure to keep the meat fully submerged, flipping them halfway through. The difference after cooking was clear: the chicken stayed juicy and didn’t dry out like it usually does. I noticed the meat held onto more moisture, even after losing some weight during cooking. For thicker cuts, I’d probably leave them in the brine even longer. This method seems to work best with lean meats like chicken or turkey. If the container doesn’t fit in the fridge, tossing in a bag of ice cubes helps keep everything cold. #briningtips #juicymeat #kitchenhacks #Food #Cooking40Share
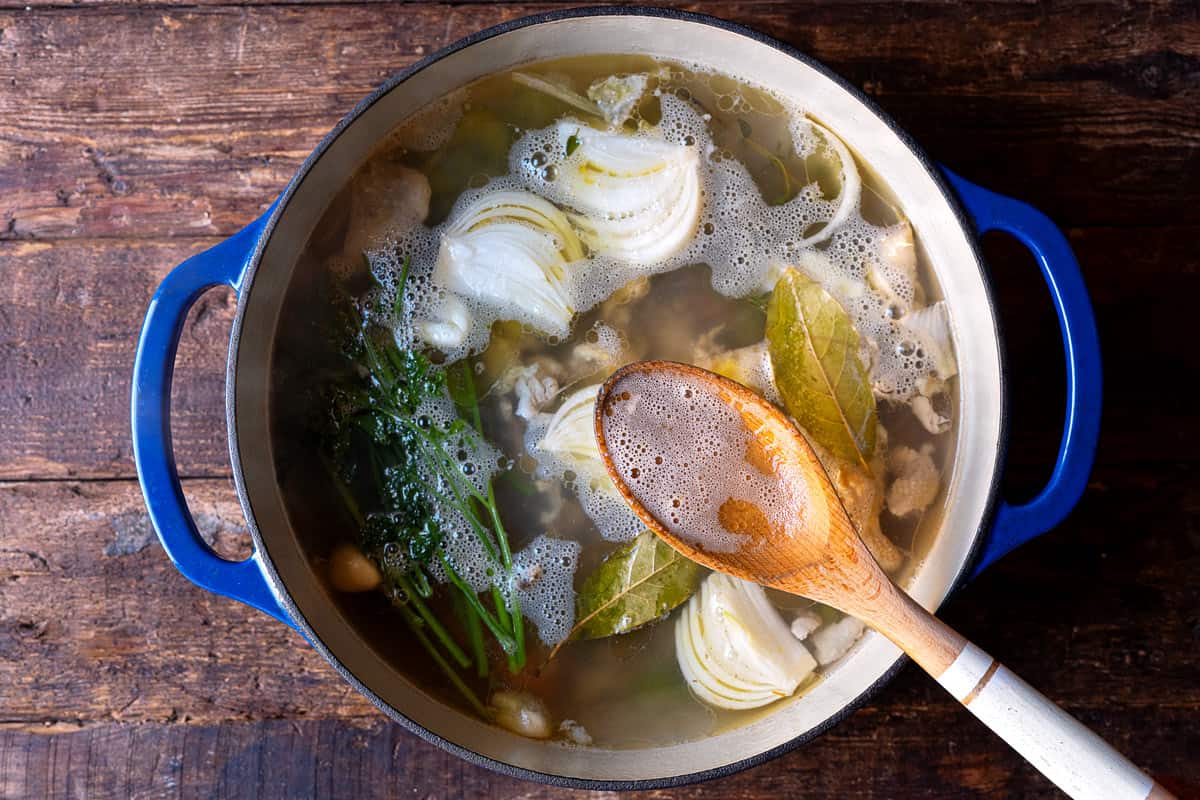
ScarletSquid+FollowLevel Up Chicken Noodle Soup with a Burst of Fresh Ginger and Lemon 🍋Tossing a chicken carcass in the pot always feels like the start of something good. After adding the classic onions, celery, and carrots, I like to throw in a thumb-sized piece of fresh ginger, sliced thin. It gives the broth a subtle warmth and depth that’s just different from the usual. Near the end, I squeeze in half a lemon and add a handful of chopped fresh dill. The citrus brightens everything up, and the dill brings a fresh, herby note. Sometimes, I’ll toss in a splash of soy sauce for a little umami kick. These tweaks make the soup taste lighter and more interesting, especially if it’s been on repeat for a while. #chickennoodlesoup #soupseason #kitchenhacks #Food #Cooking40Share
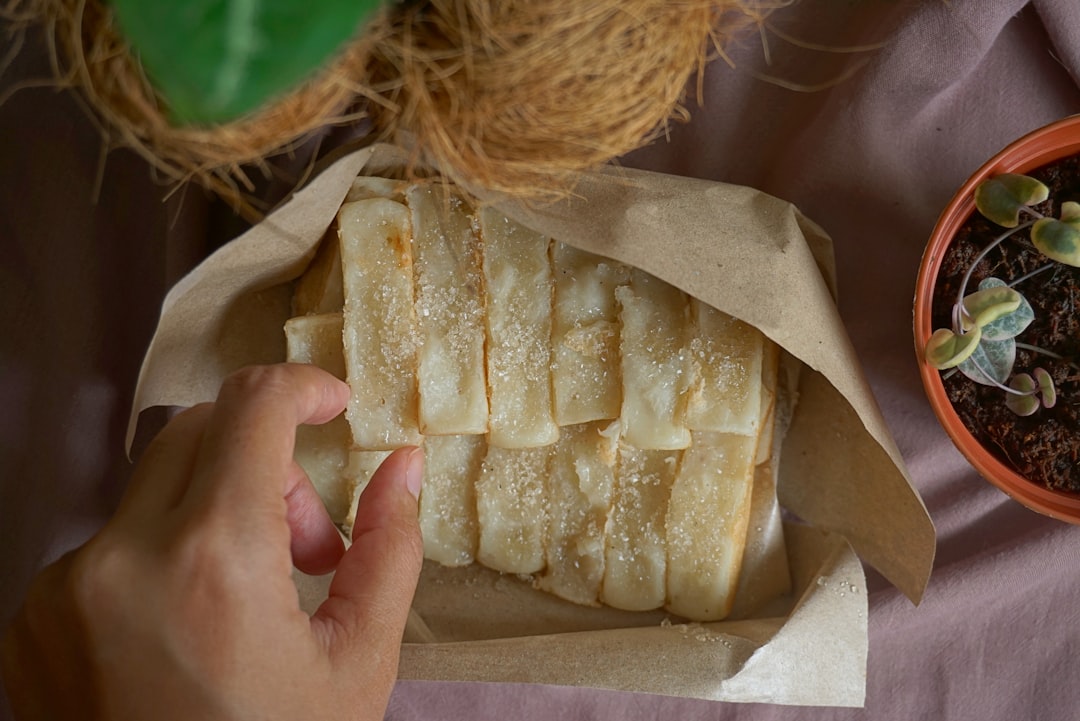
FloralFable+FollowCornbread Storage: Keep It Fresh, Not StaleIf you want your cornbread to stay soft and tasty for a couple of days, wrap it up in plastic wrap or foil and stash it in a dry, dark spot like your pantry. Don’t let it sit out for more than 2 days or it’ll dry out or mold. For longer storage, let your cornbread cool completely, then wrap it up and pop it in the fridge. It’ll last about a week, but if you see any mold or it smells funky, toss it. Freezing is your best bet for keeping cornbread around for months. Cool it off, seal it in a freezer bag, and freeze for up to 3 months. Thaw in the fridge or at room temp, then reheat in the oven for that fresh-baked feel. Don’t risk it if you spot mold or a weird smell! #cornbreadtips #foodstorage #kitchenhacks #Food #Cooking10Share
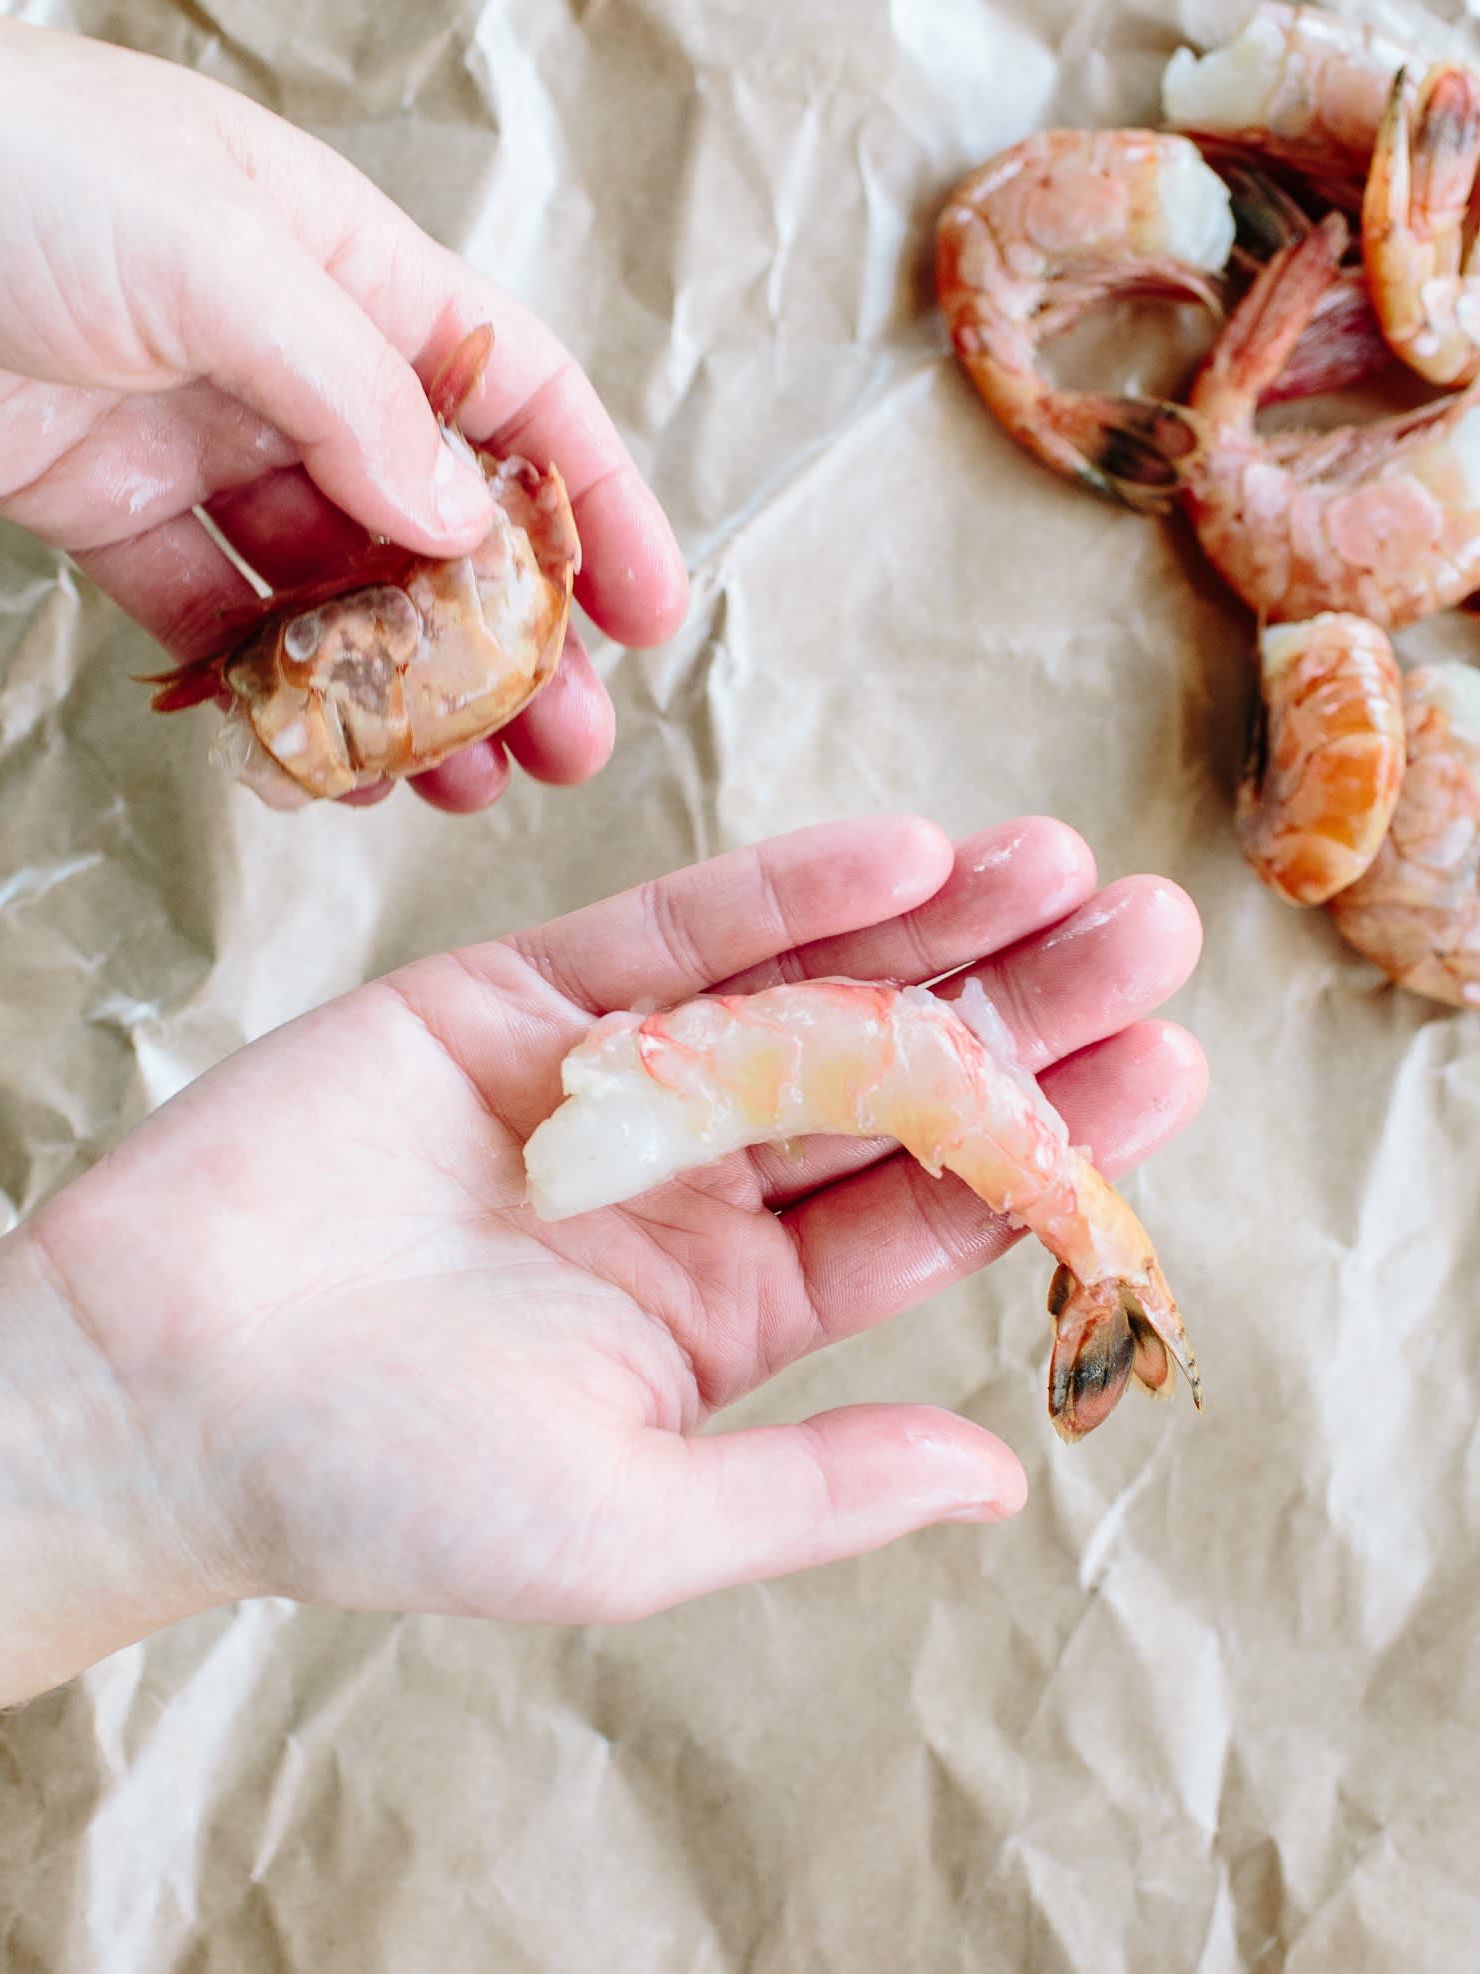
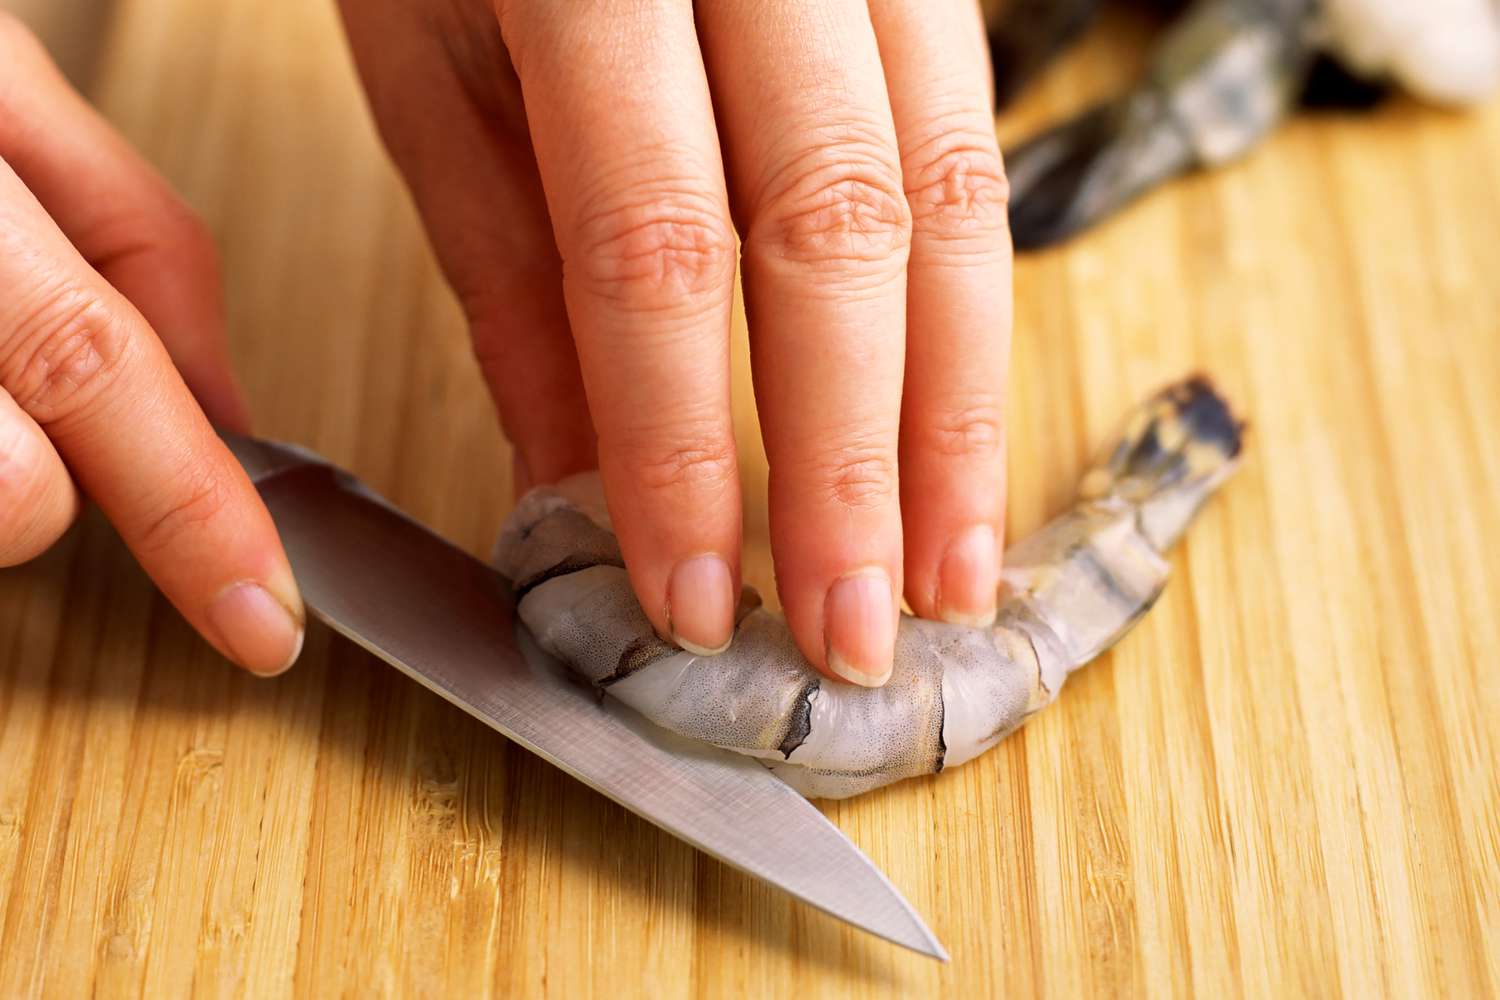
Angela Cooper+FollowPeel and Devein Shrimp Fast with Everyday ToolsThaw your shrimp in cold water for 10-20 minutes if they’re frozen. Never use warm water—keeps the texture perfect. Rinse and pat dry. If they were frozen, add a little salt to the water to bring back that fresh flavor. Keep shrimp in ice water while you work. It’s the best way to keep them fresh and safe. Twist off the head (unless you want that extra flavor), then pull off the legs and peel away the shell. The fork trick works great if you want to speed things up. Remove the tail if you want, or leave it for looks—especially for shrimp cocktail. Slice the back with a paring knife and pull out the vein. Super easy, and makes a big difference in taste. Dry the shrimp well before cooking or storing. Moisture dilutes flavor! #shrimp #seafoodtips #kitchenhacks #Food #Cooking70Share
Angela Cooper+FollowMeasuring 2/3 Cup Without the Actual Cup? No Problem!If you’re missing a 2/3 cup, just grab your 1/3 cup and fill it twice. Super easy and no math required. Only have a 1/2 cup? Fill it once, then add 2 tablespoons plus 2 teaspoons. It’s surprisingly accurate and works for both dry and wet ingredients. If you’re down to just measuring spoons, scoop out 10 tablespoons and 2 teaspoons. It takes a minute, but it gets the job done. For the most precise measurement, use a digital kitchen scale. Tare your bowl, then add ingredients until you hit 160 grams (or mL for liquids). Always spoon dry ingredients into your cup and level it off for accuracy. For liquids, check at eye level to hit that 2/3 mark. Baking doesn’t have to stop just because you’re missing a cup! #BakingTips #KitchenHacks #MeasurementConversions #Food #Cooking20Share