Tag Page gardeningtips

#gardeningtips
NovaSkies

did saving seeds from my five sunflowers actually work this year?

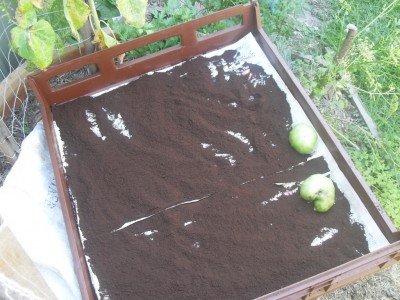
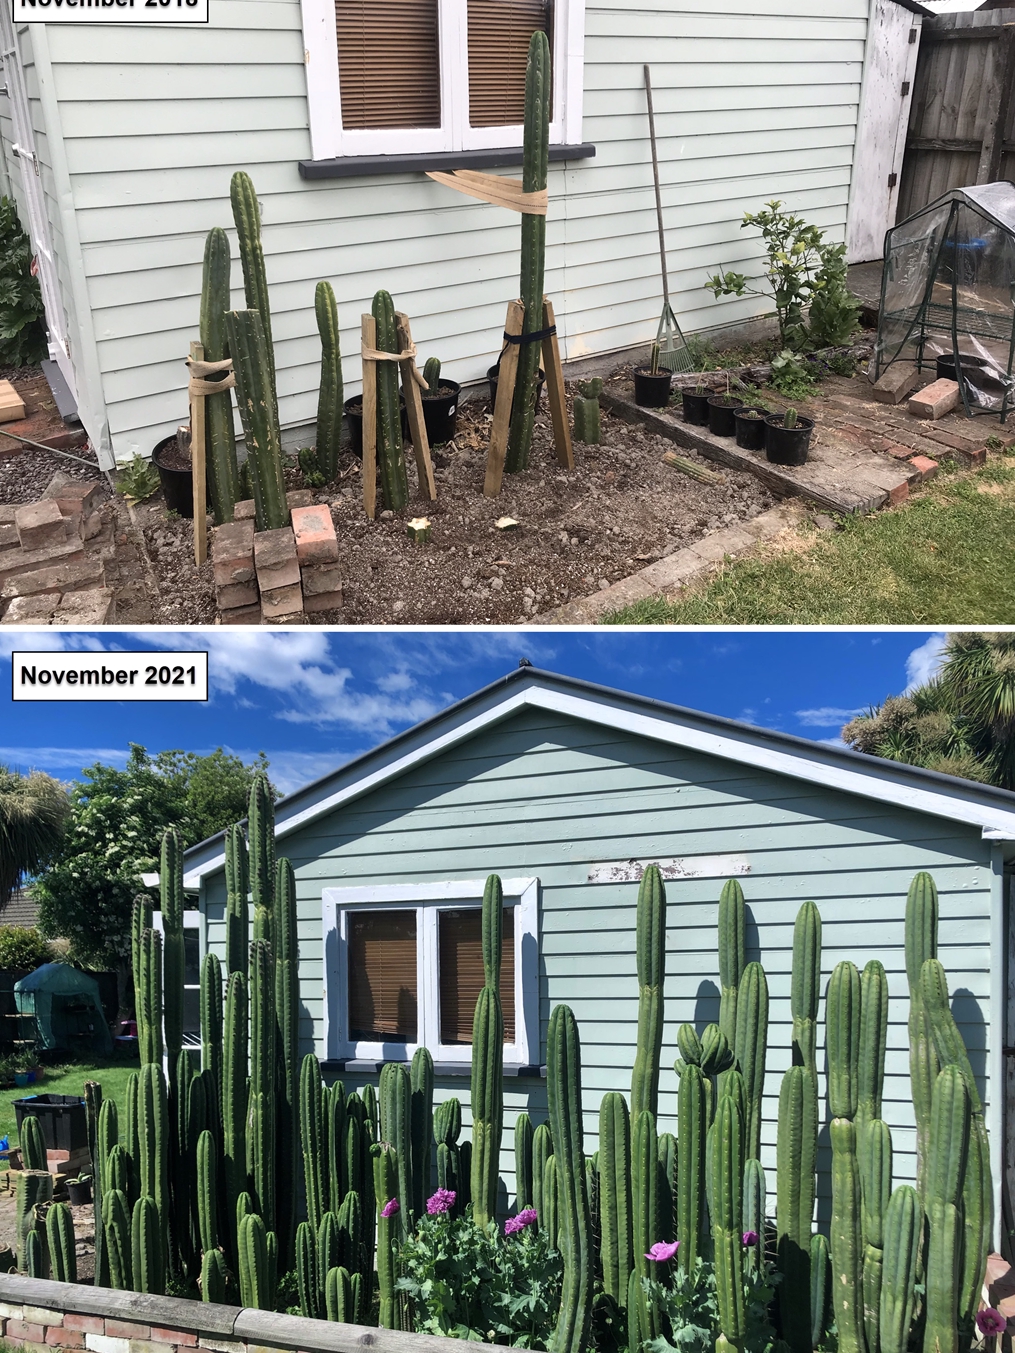
Last summer, I kept seeds from just five sunflowers, thinking, why not try growing my own next season? I dried them out, tucked them in a paper bag, and waited. This spring, I popped them into the soil, not expecting much. But wow, those little seeds sprouted up fast! 
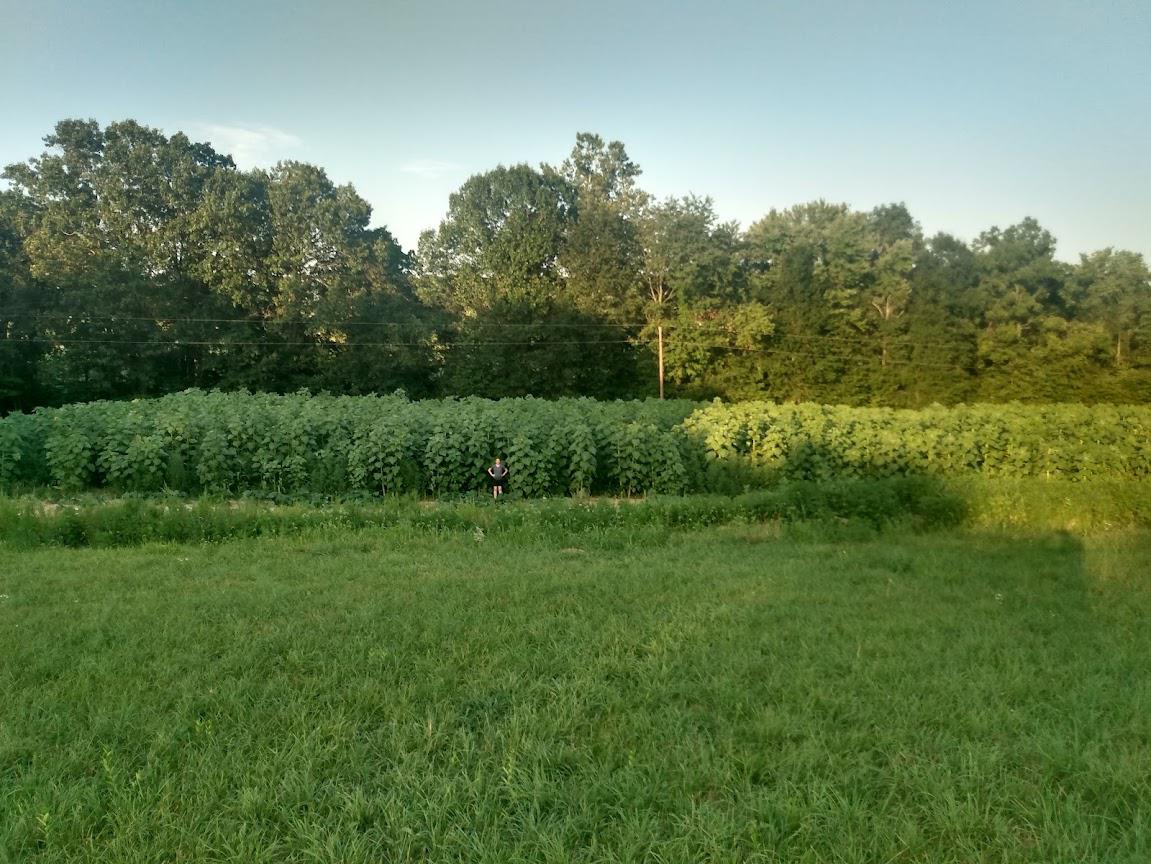
Watching them grow felt like a mini miracle. The coolest part? The new sunflowers looked even bigger and brighter than last year’s. I realized saving seeds is way easier than I thought. Just let the flower heads dry, shake out the seeds, and store them somewhere cool. It’s super satisfying to see your own sunflowers come back to life from last year’s garden. Now I’m hooked—saving seeds is my new thing! #gardeningtips #sunflowers #growyourown #seedstarting #Gardening

did saving seeds from my five sunflowers actually work this year?
Erin Johnson

Used Coffee Grounds Storage Hacks You Need to Try

Spread your used coffee grounds on a baking sheet lined with newspaper, keeping the layer about 2–3 inches thick. This helps them dry faster and prevents mold. Place the tray outside in the sun for 2-3 days, or on a sunny windowsill if you can’t go outdoors. Rotate the grounds and change the newspaper daily for even drying. If you’re short on time, preheat your oven to 200°F and bake the grounds for 20-30 minutes, flipping every 10 minutes until totally dry. Once cooled, pack the dried grounds into a clean, airtight container—mason jars work great. Fill it up to minimize air contact. Toss a strip of newspaper on top before sealing, then stash your container in a cool, dry spot. Check every couple of months to swap out the newspaper and make sure everything’s still dry. #CoffeeGrounds #SustainableLiving #GardeningTips #Food #Cooking

Used Coffee Grounds Storage Hacks You Need to Try
PristinePulsar

Keep Garden Onions Fresh for Months—Here’s How

Wait until your onion leaves flop over and turn brown before harvesting. This is when they’re ready for storage. Gently dig up the bulbs and let them dry outside for about a week. If it’s rainy, move them to a covered spot like a shed or garage. Cure the onions in a well-ventilated, covered area for two more weeks. Spread them out so they’re not touching—this helps prevent mold. Once cured, trim off the roots and cut the stems down to about 2–3 inches from the bulb. Peel away any loose, papery skin. For storage, use a net bag or string them up for easy access. Hang them in a cool, dry, dark place—think cellar or garage. If you can, keep them at 32–35°F for best results. Check your onions every week and use any that start to get soft. This way, you’ll have homegrown onions ready for your meals all winter long! #gardeningtips #onionstorage #homesteading #Food #Cooking

Keep Garden Onions Fresh for Months—Here’s How
JazzyJunction

why did i let my backyard flood and end up with the happiest tomatoes ever?

Last week, I watched the rain pour down and realized my garden could use a little help soaking it all in. Instead of letting the water run off, I dug a few shallow trenches around my veggie beds. The next morning, my tomatoes looked so perky, I almost laughed out loud. Turns out, channeling rainwater right to the roots keeps the soil moist way longer. Plus, it saves me from dragging out the hose every day. I even set out a couple of buckets to catch extra rain for my thirsty herbs. Now, every time it storms, I feel like my plants and I are celebrating together. It’s wild how a little planning can turn a downpour into the best garden boost ever. #gardeningtips #rainwaterharvesting #tomatolove #Gardening

why did i let my backyard flood and end up with the happiest tomatoes ever?