dianefrank+FollowIna Garten’s Secret Sauce: Boozy MagicDid you know Ina Garten swears by Grand Marnier and cognac to make her recipes pop? She adds Grand Marnier to desserts like crème brûlée and Boston cream pie for a hint of orange, and sneaks cognac into pot roast and beef stew for next-level flavor. Even other celeb chefs are in on the cognac trick! Next time you’re cooking, try a splash—apparently, it’s the Barefoot Contessa way. #Food #InaGarten #CookingTips00Share
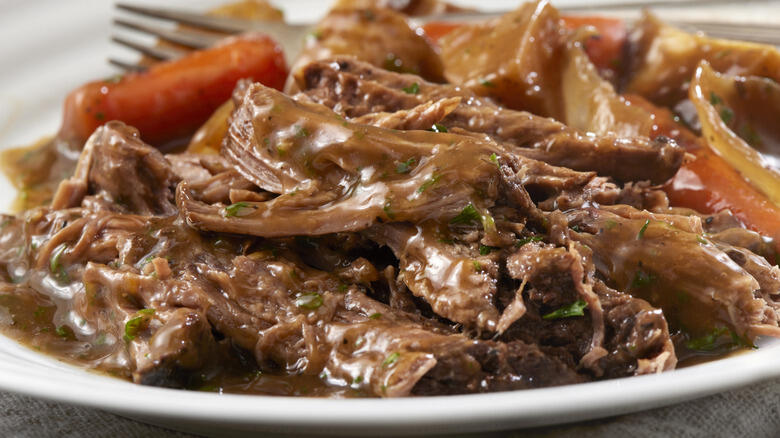
Ryan Horne+FollowThe Secret Soda Hack for Pot RoastPot roast just got a wild upgrade—next time you’re cooking, toss in a can of cola! Sounds weird, but it gives your roast this rich, caramelized sweetness without turning it into dessert. The cola blends with all the savory stuff (think garlic, onions, stock) and takes the flavor to a whole new level. And get this: cola isn’t just for pot roast—try it in ham, BBQ sauce, or even chocolate cake. Who knew soda was the secret weapon your kitchen needed? #Food #PotRoastHack #CookingTips90Share