Tag Page fashiontips

#fashiontips
NimbleNighthawk

How I Finally Got a Deep Tan—Without the Burn or Peeling!

Confession: I used to chase that perfect bronze and always ended up red, patchy, or peeling. If you want a deep, even tan that lasts, here’s what actually works (and what I wish I’d known sooner): 💡 Prep like a pro! Exfoliate the night before with a gentle scrub (think sugar + honey) so your tan goes on smooth, not streaky. Moisturize well—hydrated skin holds color longer. 
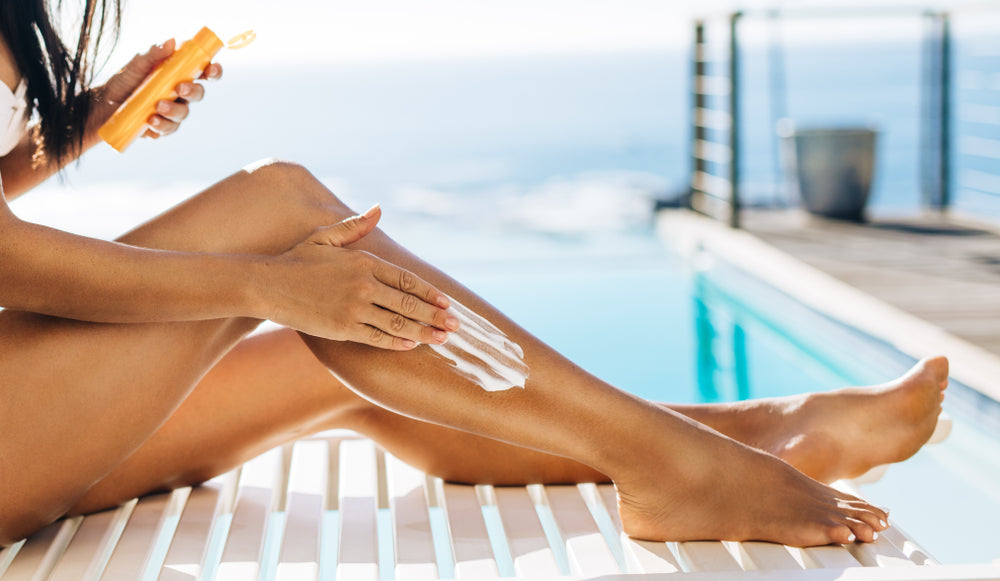
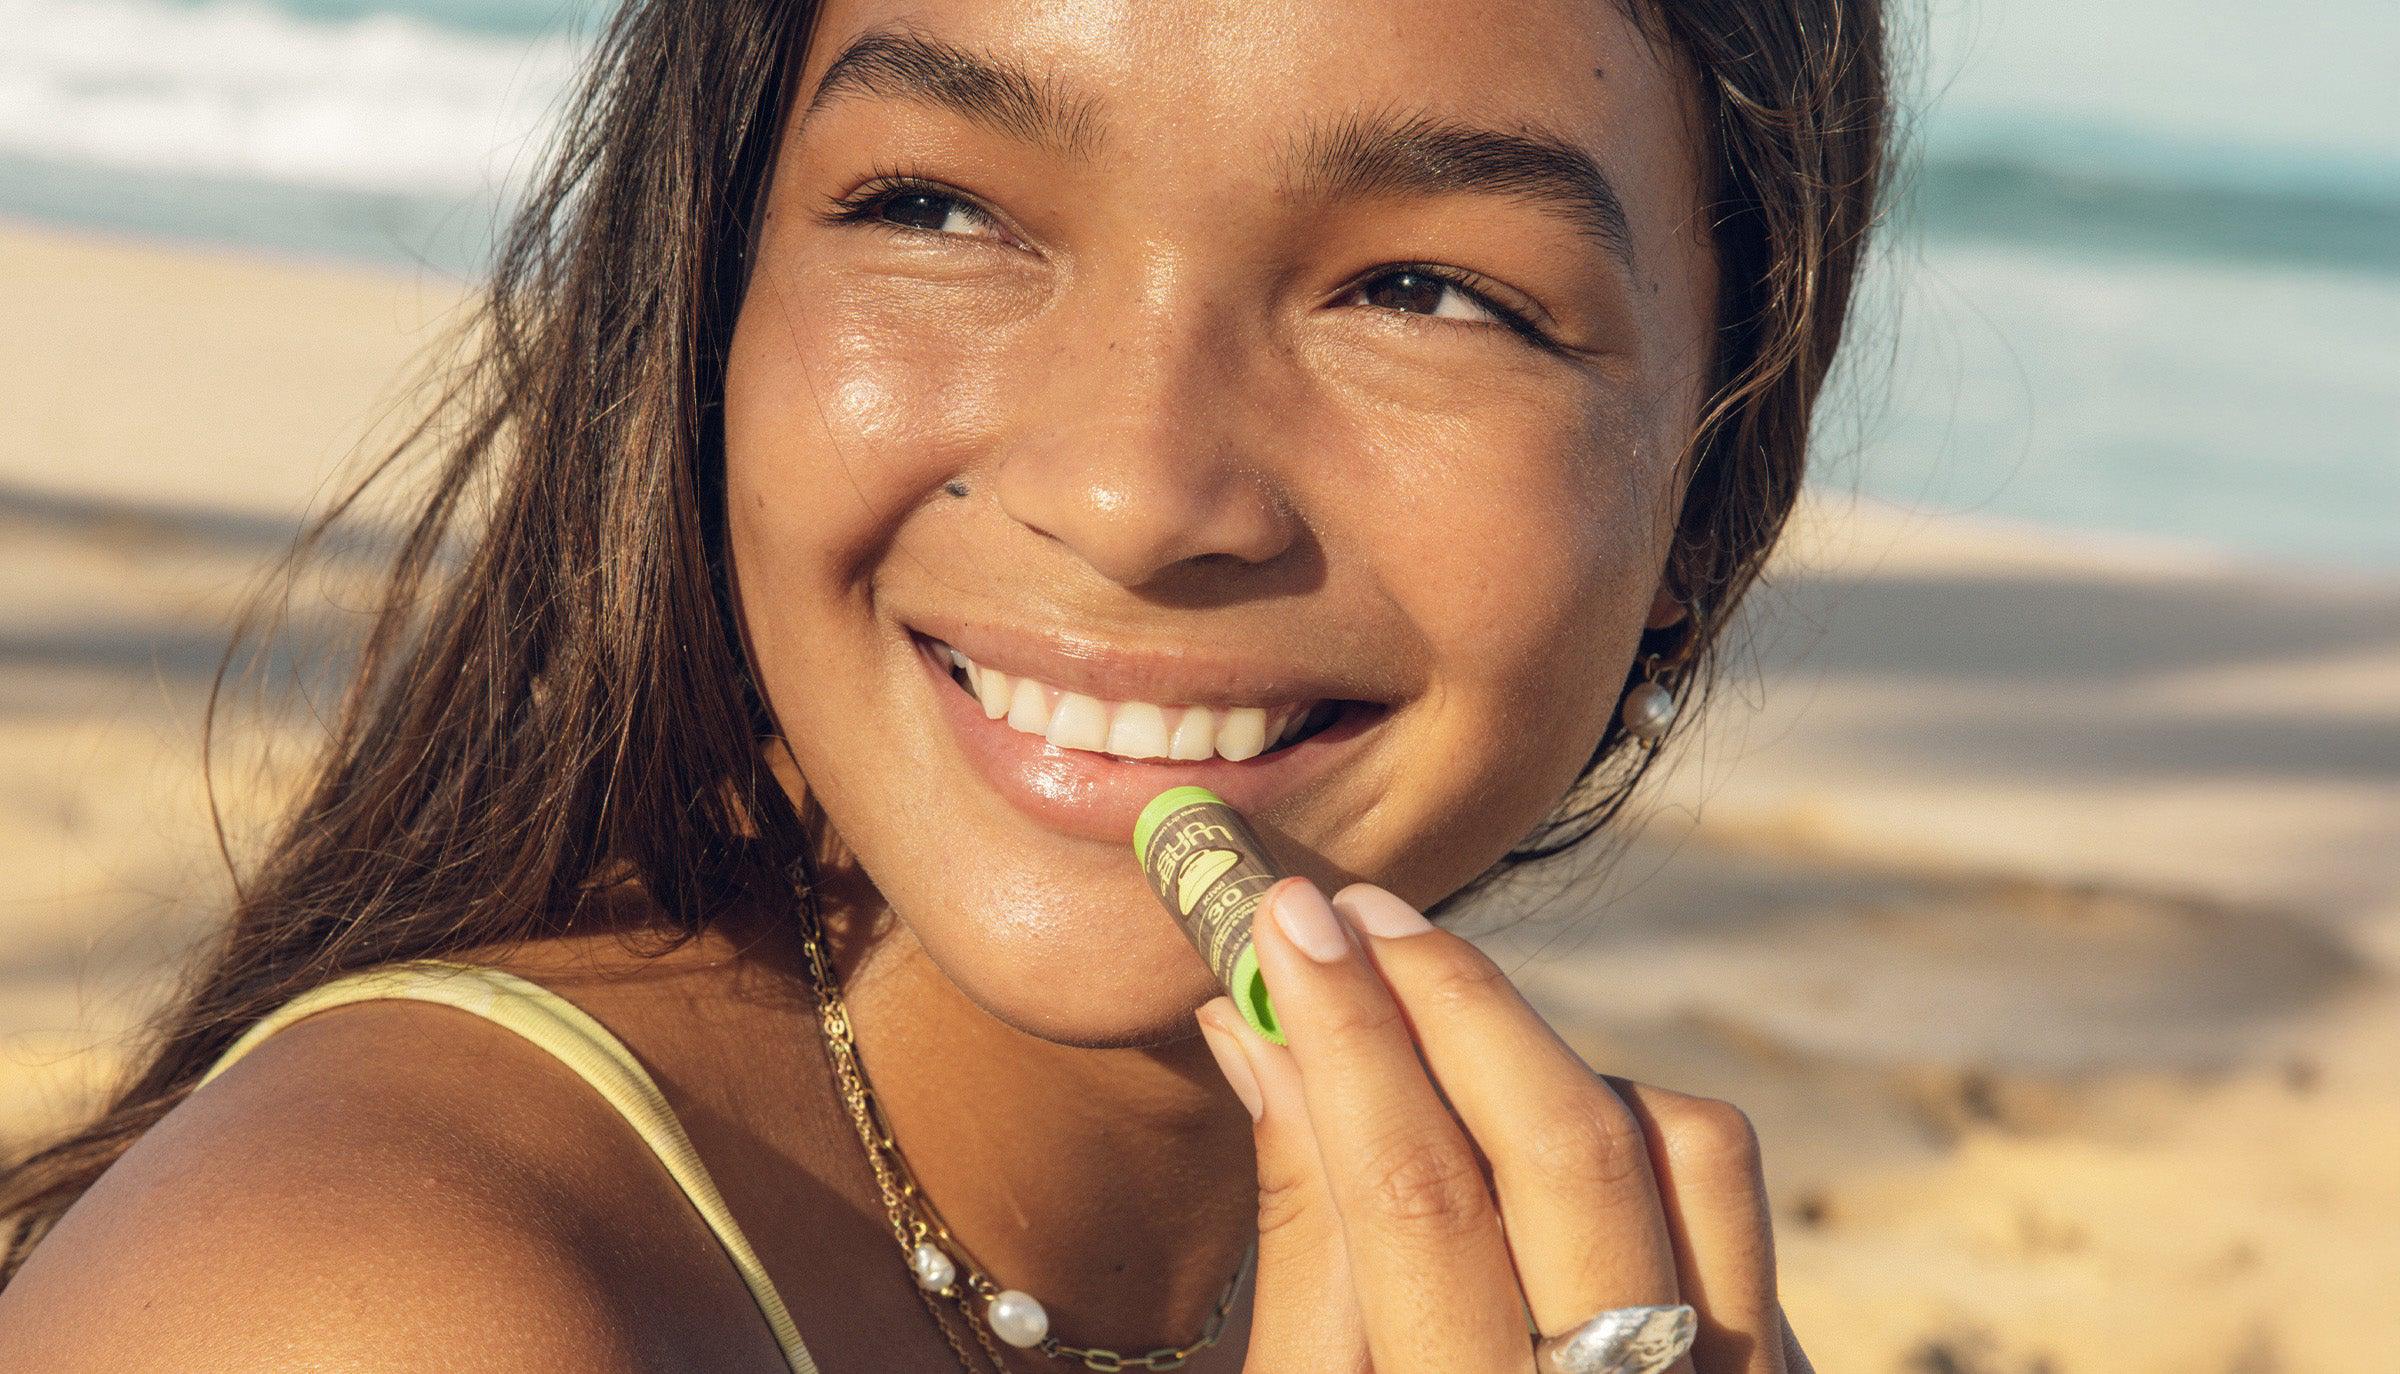
⚠️ Don’t skip sunscreen! I know, it sounds backwards, but SPF 15+ actually helps you tan safely and prevents burns that ruin your glow. Trust me, burnt skin flakes off fast. ✅ While tanning, switch positions every 20 minutes and sip water. Even coverage and hydration are your BFFs for that golden look. 📌 After sun? Shower, slather on lotion, and keep up the water. Your tan will thank you! What’s your biggest tanning mistake—burns, streaks, or something else? Spill below! #FashionTips #ContentCreation #PersonalBranding #SummerGlow #SkinCare #Beauty

How I Finally Got a Deep Tan—Without the Burn or Peeling!
AzureAspen

Struggling With Flat Hair? My Go-To Backcombing Hack for Instant Volume!

Ever spent ages styling your hair, only for it to fall flat before you even leave the house? Been there! Here’s how I finally nailed backcombing for that full, bouncy look—without the frizz or damage. 💡 Start with clean, volumized hair: Use a volumizing (not moisturizing!) shampoo and a light conditioner only if your hair is dry. Why? Heavy products weigh hair down and kill the lift before you even start. 📌 Product is your friend: Work a volumizing mousse through damp roots, then flip your head and blow-dry on low. This gives you a weightless base to build on. ✅ Backcomb in small sections: Hold hair straight up, then gently tease from mid-shaft to roots. Don’t worry if it looks wild—smooth the top layer with a soft brush for a polished finish. ⚠️ Don’t overdo it! Too much teasing can cause breakage. Focus on areas that need the most oomph, like your crown or fringe. Ready to try it? What’s your biggest hair volume struggle—roots or ends? #FashionTips #ContentCreation #PersonalBranding #HairHacks #BeautyStorytelling #Beauty #HairCare

Struggling With Flat Hair? My Go-To Backcombing Hack for Instant Volume!
Lisa Goodwin

90s Fashion Trends We Beg to Stay Dead

The '90s had some bold looks, but some trends need to stay buried. 😵😂 Here’s what people are saying should never return: 1️⃣ Hypercolor T-Shirts: "They changed color right at your pits and chest—everyone’s staring at your sweat stains." 2️⃣ Zigzag Headbands: "Those toothy things were uncomfortable and honestly, not even cute." 3️⃣ Chunky Highlights: "Let’s keep those streaky disasters in the past." 4️⃣ Dayglow Everything: "Unless you’re a construction worker, why are we bringing back neon?" 5️⃣ Rhinestone Colored Glasses: "Just… no. Too much bling, too little style." 6️⃣ Rayon Pants: "Flowy and unflattering—hated them then, hate them now." 7️⃣ Jelly Sandals: "They’d stick to hot asphalt like melting glue. Cheap and miserable." So which '90s fashion flop do you hope stays gone? Spill below! #90sFashion #FashionFails #RetroStyle #FashionTips

90s Fashion Trends We Beg to Stay Dead
AuroraArcher

Say Goodbye to Cracked Lips: My Go-To Fixes for Smooth, Kissable Lips

Ever had your favorite lipstick look patchy because your lips were peeling? Been there! Dry, cracked lips used to ruin my whole vibe—until I figured out what actually works. 💡 Moisturize Like You Mean It: I keep a fragrance-free, SPF lip balm in every bag (seriously, sunburned lips are the worst). Apply after brushing your teeth, before bed, and every time you head outside. 📌 Exfoliate, But Gently: Once a week, I use a homemade sugar scrub (brown sugar + coconut oil) to buff away flakes—hello, smooth lips! ⚠️ Ditch the Bad Stuff: Avoid balms with menthol or camphor—they dry you out more. Stick to natural oils and skip the dyes and fragrances. ✅ Hydrate Inside & Out: Drink water all day and run a humidifier at night—your lips will thank you! What’s your lip rescue: balm, scrub, or a secret home remedy? Share below! #FashionTips #ContentCreator #BeautyRoutine #Beauty #Skincare

Say Goodbye to Cracked Lips: My Go-To Fixes for Smooth, Kissable Lips
WhisperWave

Chasing That Golden Glow—My No-Burn, All-Bronze Ritual

Last summer, I was determined to get that deep, sun-kissed tan—minus the lobster-red regrets. Here’s how I finally nailed it: 🧴 Exfoliate the night before with coffee grounds and olive oil. It’s messy, but your skin will feel like silk (and your tan goes on even). 💧 Hydrate inside and out. I keep a water bottle glued to my hand and slather on thick lotion, especially on elbows and knees—no patchy tan lines here. 🧢 Sunscreen isn’t optional. SPF 30, everywhere. I rope in my bestie to get those tricky spots on my back. Trust me, a burn ruins everything. ☀️ Rotate every 20 minutes and read a juicy novel. You’ll tan evenly and actually enjoy the process. The real secret? Patience and protection. Would you risk a burn for a faster tan, or are you team slow-and-glow? #sunkissedskin #summerglow #fashiontips #Beauty #Skincare

Chasing That Golden Glow—My No-Burn, All-Bronze Ritual
MysticNomad

Scared to Go Lighter? Here’s How I Safely Dyed My Dark Hair Blonde!

Ever tried to go from dark hair to a lighter shade and ended up with orange streaks or fried ends? 🙋‍♀️ Been there! Here’s what I wish I knew before my first bleach adventure: 💡 Prep is everything! Don’t wash your hair for 2-3 days before bleaching—your natural oils are your scalp’s best shield. I also swear by a couple of deep-conditioning masks the week before (think shea butter or argan oil). ⚠️ Choose your bleach wisely. If your hair is super dark, go for a vol 30 developer—but never vol 40 (trust me, it’s way too harsh for DIY). Section your hair into four, work fast, and always check your progress every 10 minutes. ✅ After rinsing out the bleach, apply your dye to damp hair for even color. Rinse with cool water, and use the included conditioner (or your fave deep mask) to lock in shine. 📌 Keep your new color fresh by washing less, using sulfate-free products, and a purple shampoo if brassiness creeps in. Ready to take the plunge, or still nervous about bleaching? What’s your biggest hair color fear? #FashionTips #ContentCreation #PersonalBranding #HairTransformation #Storytelling #Beauty #HairCare

Scared to Go Lighter? Here’s How I Safely Dyed My Dark Hair Blonde!
GamerGoblin

First-Time Earring Removal: No Tears, Just Cheers!

I’ll never forget the nerves before removing my first earrings—my hands were shaking like I was defusing a tiny bomb! If you’re feeling the same, here’s how to make it smooth and stress-free: 💡 Start with squeaky-clean hands and ears. Why? Cleanliness is your best friend against infection—think of it as prepping your runway for a safe takeoff. 📌 Hold the front and back of the earring firmly (no dropping down the sink, please!). Gently wiggle the back loose—no twisting or spinning, which can irritate your healing ear. ⚠️ If you spot redness, swelling, or pain, pause and treat your ear with care. Sometimes, your ears just need a little more healing time. ✅ Ready for new bling? Stick to hypoallergenic studs for now—save the hoops for later! Removing your first earrings is a rite of passage—did you feel nervous or totally chill? Share your story below! #FashionTips #PersonalBranding #ContentCreation #JewelryJourney #Beauty

First-Time Earring Removal: No Tears, Just Cheers!
SereneSeal

Tired of Long Arm Hair? Here’s How to Trim Without Regret!

Ever trimmed your arm hair too short and instantly regretted it? Been there! 🙋‍♀️ The secret is all about control and confidence—no razors needed. 💡 First, decide your vibe: Want a natural look? Trim just a little, leaving about half an inch. Prefer a super-smooth style? Go closer, but never all the way to the skin (trust me, regrowth can look darker!). 📌 Electric trimmers are your BFF for even results. Use a guard that matches your goal—bigger for more hair, smaller for less. Always trim against the direction of hair growth for a clean finish. ✅ Scissors work too! Comb hair up, snip tiny bits, and check for evenness as you go. Slow and steady wins the style race. Ready to try it? Would you go for a natural trim or a sleek, close cut? Drop your pick below! #FashionTips #BodyGrooming #StyleHacks #ContentCreator #PersonalBranding #Beauty

Tired of Long Arm Hair? Here’s How to Trim Without Regret!
NebulaNest

Hazel Eyes That Pop: My Go-To Tricks for More Green, Blue, or Gold ✨

Ever felt like your hazel eyes look totally different in every selfie? Same! I used to just slap on black liner and call it a day—until I realized how much color choice matters. 💡 Want to look greener? Try earthy gold or olive shadows, and swipe on a chestnut or bronze liner. For a blue vibe, deep purple liner is magic (trust me, it brings out hidden flecks!). Want more gold? A touch of bronzer on your T-zone and gold-flecked mascara does wonders. 📌 Don’t forget your outfit: an emerald scarf or plum earrings can make your eyes pop without a single brushstroke. Ready to experiment? Which color are you dying to try—green, blue, or gold? Drop your pick below! #FashionTips #ContentCreator #PersonalBranding #MakeupHacks #HazelEyes #Beauty #Makeup

Hazel Eyes That Pop: My Go-To Tricks for More Green, Blue, or Gold ✨
bronzeButterfly

Mascara Tube Makeover: The Secret to Reusing for Serums (No Mess!)

Ever tossed a mascara tube, wishing you could use it for your new lash serum? I’ve been there—frustrated with serums and no applicator in sight! Here’s how I turned my old mascara tube into the perfect DIY serum wand (without any gunky leftovers): 💡 First, soak the wand and tube in warm water and a gentle makeup remover—this melts away stubborn mascara. Why? Because leftover product can mess with your new serum and even irritate your eyes! 📌 Swirl the wand inside, then let it sit for a few hours (overnight for waterproof formulas). Patience pays off—this step really breaks down the residue. ✅ After dumping out the remover, wash everything with dish soap and warm water. Don’t forget to pop out the rubber stopper and scrub underneath—mascara loves to hide there! ⚠️ Rinse with rubbing alcohol to sterilize, then let everything air-dry in the sun. Now you’ve got a squeaky-clean tube ready for your favorite serum! Would you rather DIY your applicator or buy a new one? Drop your vote below! #BeautyHacks #ContentCreation #PersonalBranding #FashionTips #Beauty #Makeup

Mascara Tube Makeover: The Secret to Reusing for Serums (No Mess!)