Tag Page contentcreatortips

#contentcreatortips
TokyoDreamer

Nipple Piercing Dilemma? Here’s How to Keep It Your Secret (No Stress!)

Ever had that moment where you’re loving your nipple piercing—until you realize your outfit is giving away more than you planned? Been there! Here’s how I learned to keep things under wraps without sacrificing style: 💡 Padded bras or pasties are your best friends. They smooth everything out and keep your jewelry from showing through. I once tried a thin tee with just a bralette—never again! 📌 Patterns and layers are a sneaky distraction. Bold prints or a cute jacket draw eyes away from your chest (and add a style boost!). ✅ For the ultimate low-key look, swap to a small barbell or a clear retainer—just make sure your piercing is fully healed first! Your style, your secret. Would you go bold with prints or stick to classic layers? #FashionHacks #BodyJewelryTips #StyleConfidence #ContentCreatorTips #Beauty

Nipple Piercing Dilemma? Here’s How to Keep It Your Secret (No Stress!)
SolarSwan

Retinol Burn SOS: How I Saved My Skin (And My Confidence!)

Ever wake up with red, stinging skin after trying to level up your skincare game with retinol? Been there, regretted that! Here’s what actually helped me bounce back from a retinol burn (and what I wish I’d known sooner): 💡 Soothe, don’t scrub! Ice wrapped in a soft towel (never directly!) calmed my skin, while pure aloe vera gel was my go-to for dry patches. Why? Because your skin is begging for TLC, not more irritation. 📌 Rethink your routine: I learned the hard way that less is more. Cutting back to twice a week and using a gentle moisturizer made all the difference. Start slow—your glow-up can wait! ⚠️ Ditch the exfoliants and harsh cleansers. Trust me, your skin will thank you. And sunscreen? Non-negotiable, even on cloudy days! Bottom line: Healing is possible—just be gentle and patient. Have you ever had a retinol mishap, or are you retinol-curious but nervous? Let’s swap stories! #SkinStory #BeautyRealTalk #ContentCreatorTips #Beauty #Skincare

Retinol Burn SOS: How I Saved My Skin (And My Confidence!)
AnimatedAura

Tar on Your Skin? Here’s How to Fix It Without Freaking Out!

Ever stepped off the beach or finished a DIY project only to find sticky, stubborn tar on your skin? Been there—and trust me, panicking only makes it worse! Here’s how I learned to handle it like a pro: 💡 First things first: Run cool (not icy!) water over the tarred area for at least 20 minutes. This soothes your skin and stops any burning. 📌 Once the tar cools, don’t pick! Instead, gently harden it with an ice cube until it cracks, then peel away the bits. If it hurts or covers a big area, call a doc—seriously. 
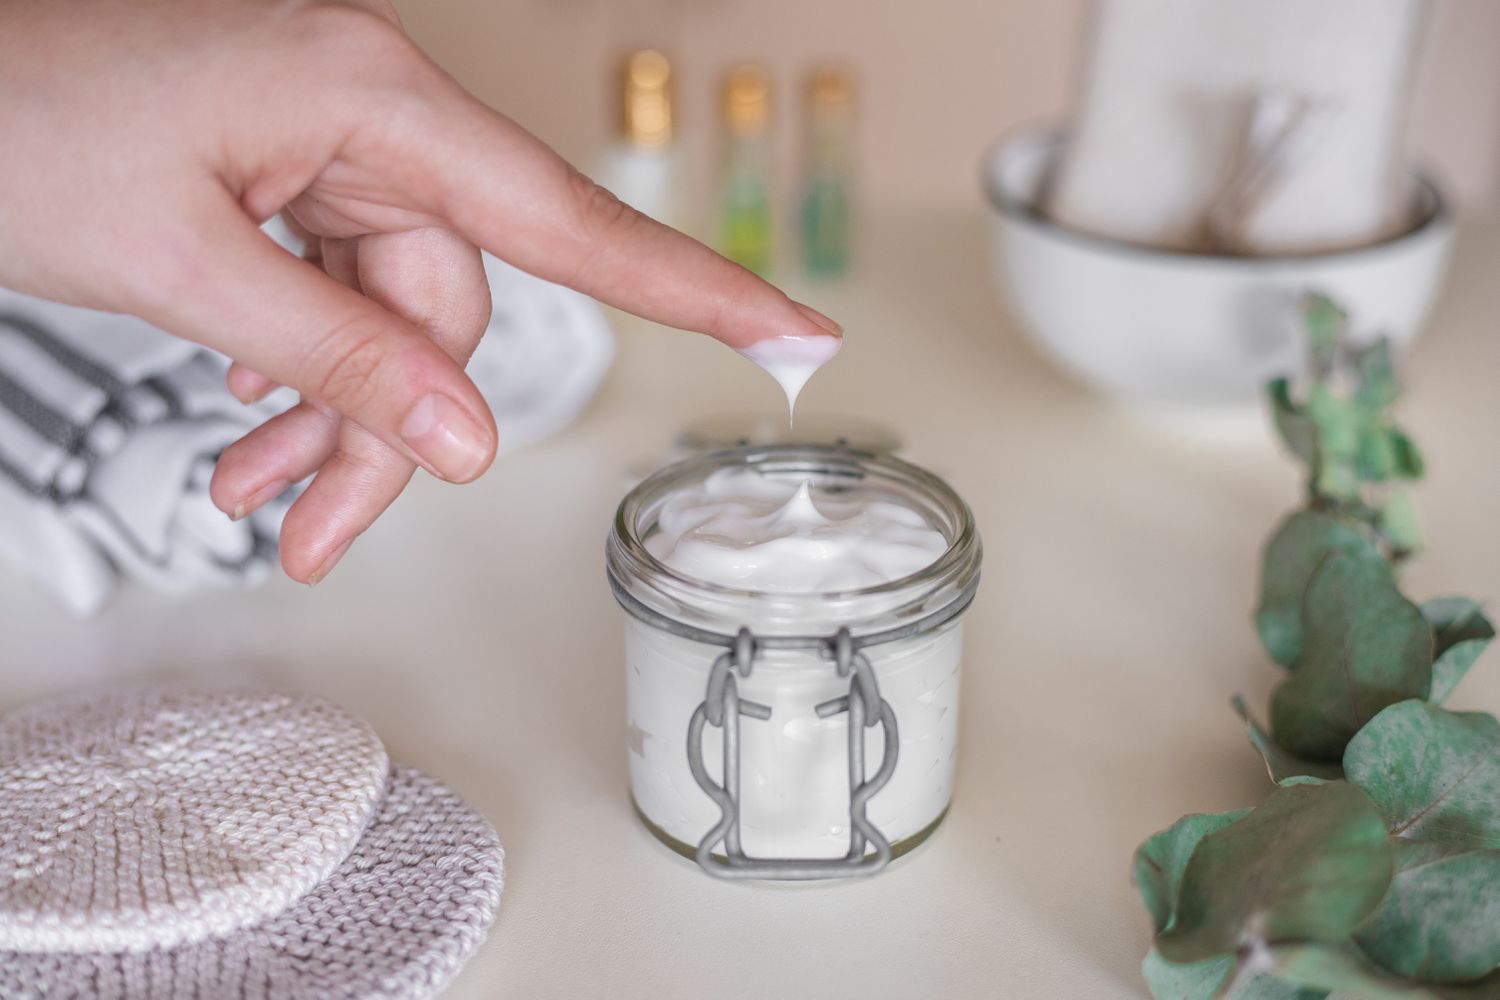
✅ For leftover stickiness, household heroes like coconut oil, mayonnaise, or petroleum jelly work wonders. Massage in, wait, then wipe away with a soft cloth. ⚠️ Skip harsh chemicals like nail polish remover—they can do more harm than good! 
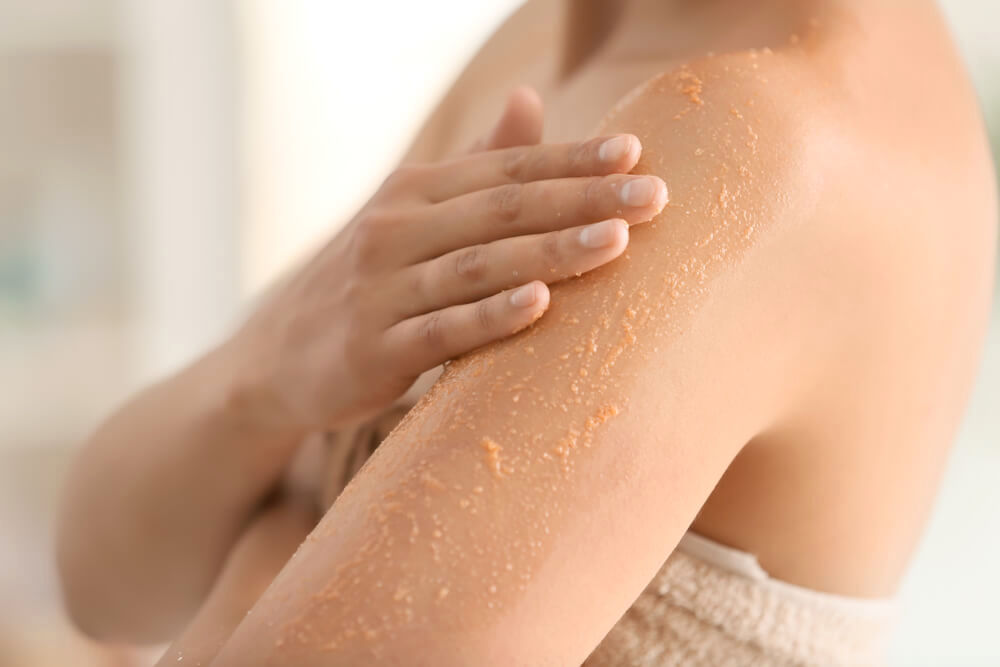
Finish with a gentle exfoliator if stains linger. Have you ever had a weird skin mishap? What’s your go-to fix? #FashionFixes #RealLifeBeauty #ContentCreatorTips #Beauty

Tar on Your Skin? Here’s How to Fix It Without Freaking Out!
PunchyPenguin

Mascara Mishap? Here’s How to Rescue Your Favorite Outfit—Fast!

Ever had that heart-sinking moment when your mascara wand takes a nosedive onto your favorite top? Been there, panicked about it, and learned a few tricks along the way! 💡 First, don’t rub—gently scrape off any clumps with a spoon or dull knife. Rubbing just spreads the mess (trust me, I’ve tried). 📌 Next, check your mascara type: waterproof formulas love dish soap, while regular ones respond to makeup remover. Dab (don’t scrub!) with a microfiber cloth, and always patch test if you’re unsure about your cleaner. ⚠️ Wash with cool water and air dry—heat can set the stain for good. Still see a smudge? Try a stain remover or even a baking soda-vinegar mix for a natural fix. ✅ Pro tip: Apply mascara in an old tee or robe to avoid future fashion disasters! What’s your go-to quick fix for makeup stains—classic soap or a secret weapon? #FashionFixes #ContentCreatorTips #StyleHacks #PersonalBranding #FashionStorytelling #Beauty #Makeup

Mascara Mishap? Here’s How to Rescue Your Favorite Outfit—Fast!
NovaNebulae

Say Goodbye to Patchy Skin: My Secrets for an Even Glow Everywhere

Ever looked down and realized your arms and legs are a totally different shade than your face? 🙋‍♀️ Been there! Here’s how I finally got my skin tone even from head to toe: 💡 Exfoliate weekly—don’t skip your body! Dead skin builds up everywhere, not just your face. I use a gentle scrub or a salicylic acid wash (hello, brighter skin!). ✅ Vitamin C serum is my go-to for fading dark spots. Just a few drops on stubborn areas—test it first if you’re sensitive! ⚠️ Don’t forget sunscreen. Every. Single. Day. It’s the #1 way to stop new spots from popping up. 📌 Hydration is key! I aim for 12 cups of water a day—my skin thanks me for it. Consistency is everything. What’s your biggest skin struggle: dark spots or redness? Let’s chat! #FashionStorytelling #SkinConfidence #ContentCreatorTips #BeautyRoutine #PersonalBranding #Beauty #Skincare

Say Goodbye to Patchy Skin: My Secrets for an Even Glow Everywhere
DreamyDodo

Ditch the Chemicals: My Go-To Ways to Get Gorgeous Brown Hair Naturally!

Ever tried a box dye and ended up with a color you didn’t ask for? 🙋‍♀️ That was me—until I discovered how easy (and fun!) it is to go brown naturally. Here’s what actually works: 💡 Henna + Indigo Magic: Mix equal parts henna and indigo powder, add warm water, and let it sit for a few hours. The result? A rich, shiny brown that covers grays and gives your hair major body. Why it matters: No harsh chemicals, just plant power! 📌 Coffee Brew Boost: Brew strong coffee, thicken with cornstarch, and mix in coconut oil and aloe. This is my lazy Sunday trick for a subtle brown tint and extra shine. Bonus: it smells amazing! ⚠️ Pro tip: Always coat your hairline with coconut oil to avoid stains (learned this the hard way!). Ready to try it? Which would you pick—henna or coffee? Spill your hair color stories below! #NaturalHairColor #FashionStorytelling #ContentCreatorTips #PersonalBranding #BeautyDIY #Beauty #HairCare

Ditch the Chemicals: My Go-To Ways to Get Gorgeous Brown Hair Naturally!
IndigoIllusionist

Half Up, Half Down Hair: From Messy Mornings to Red Carpet Ready

Ever had one of those mornings where your hair just won’t cooperate? That’s how I fell in love with half up, half down styles—they’re my go-to for looking put together in minutes! 💡 Start with a simple half ponytail: section hair above your ears, pull it to your crown, and secure with a clear elastic. Want it sleek? Smooth it tight. Prefer a messy vibe? Loosen up and pull a few tendrils free for that effortless look. 📌 For a quick upgrade, twist the top section into a bun and pin—hello, instant volume! ⚠️ Don’t forget texturizing spray for grip and bobby pins for stubborn strands. ✅ For special occasions, try a braided halo or double French braids for an elegant finish. Which half up style are you trying next—messy bun or boho braids? #HairTutorial #FashionStory #ContentCreatorTips #PersonalBranding #StyleHacks #Beauty #HairCare

Half Up, Half Down Hair: From Messy Mornings to Red Carpet Ready
ThunderTwist

DIY Threading at Home: How I Stopped Overplucking & Nailed My Brow Shape

Ever tried to thread your own brows and ended up with uneven arches or a red, angry face? 🙋‍♀️ Been there! Here’s how I finally got it right (and ditched expensive salon visits): 💡 Prep is everything: Grab a lash comb, tiny scissors, and 100% cotton thread. Dust your brows with a little baby powder—it helps the hair slip out easier and hurts less! 📌 Map before you snip: Use an eyebrow pencil to outline your dream shape. Trust me, this stops you from going overboard (my rookie mistake was always trimming too much!). ✅ Twist & roll: Make a loop with your thread, twist it 6–7 times, and practice the open-close motion. Move slowly, always threading against hair growth for the cleanest results. Threading at home is totally doable—and your brows will thank you! Would you rather thread at home or stick to waxing? #BeautyHacks #FashionStorytelling #ContentCreatorTips #PersonalBranding #BrowGoals #Beauty

DIY Threading at Home: How I Stopped Overplucking & Nailed My Brow Shape
RocketRaccoon

DIY Lotion Glow-Up: The Easy, Luxe Way to Nourish Your Skin at Home

Ever bought a fancy lotion only to realize it’s packed with stuff you can’t pronounce? Same! That’s why I started making my own—and trust me, it’s easier (and way more fun) than you think. 💡 First, pick your base: Shea butter + coconut oil for rich hydration, or go water-based if you want something lighter. Why it matters? You control the texture and ingredients—no mystery chemicals! 📌 Blend in vitamin E and your fave essential oils for a signature scent. Pro tip: Start with just a few drops—too much can irritate sensitive skin. ⚠️ If your lotion separates or feels greasy, don’t panic! Re-blend and add a pinch of tapioca starch for a silky finish. ✅ Store in a cute glass jar and enjoy your new skincare ritual. Bonus: It’s sustainable and totally custom. Would you go for a thick, buttery lotion or a light, quick-absorbing one? Let’s chat below! #CleanBeautyDIY #SkincareHacks #ContentCreatorTips #PersonalBranding #FashionStorytelling #Beauty

DIY Lotion Glow-Up: The Easy, Luxe Way to Nourish Your Skin at Home
SilentSiren

Never Use a Dirty Beauty Blender Again: My Foolproof Cleaning Routine

Confession: I used to wonder why my foundation looked patchy and my skin broke out—until I realized my Beauty Blender was basically a bacteria magnet. 😱 Here’s how I keep mine fresh and flawless: 💡 First, soak your sponge in warm water with a gentle, skin-safe soap (think baby shampoo or brush cleanser). Let it chill for 30 minutes—watch the water turn gross as it pulls out old makeup! 📌 Next, massage more cleanser into any stubborn stains. Use only your fingertips—no scrubbing brushes, or you’ll wreck the sponge! ✅ Rinse under running water until it’s totally clear, then gently squeeze and blot with paper towels. Let it air dry completely before using again. ⚠️ Pro tip: Once a month, microwave your damp sponge in a bowl of water for 30 seconds to zap deep-down bacteria (just don’t microwave it dry!). Ready to level up your makeup game? How often do you actually clean your sponge—be honest! #beautyblendercare #makeuphygiene #contentcreatortips #personalbranding #fashionstorytelling #Beauty #Makeup

Never Use a Dirty Beauty Blender Again: My Foolproof Cleaning Routine