Tag Page MakeupTips

#MakeupTips
Rachel Martin

19 Makeup Tricks Only Experience Can Teach You

Years of backstage and on-set work taught me this: flawless makeup isn’t about products—it’s about how you use them. Here are 19 refined tips professionals swear by: Brush a bit of mascara through brows for a natural fluffy finish. Acne? Light makeup over unripe blemishes can help bring them to a head (use clean tools). Peachy blush works beautifully on under-eye bags to mimic natural shadows. Dust translucent powder on lashes pre-curling for better grip and longevity. Mix violet primer with dull foundation to correct sallowness. One pump of foundation isn’t always enough—go for even coverage without dry patches. To brighten tired eyes, gently wipe off foundation around lids for a bare-skin gradient. If you see white residue in eye corners post-removal, it’s product buildup—rinse thoroughly. For monolids or hooded eyes: skip shadow, focus on liner + lashes. Eye makeup before base = cleaner finish. Never trust glue from cheap lash packs—look for latex-free, formaldehyde-free formulas. Press matte highlighter into skin with sponge—not brush—for a soft-glow lift. Nervous about bottom lashes? Practice before bed to avoid ruining full looks. For evening, layer shimmer on your daytime eyeshadow using fingertips. Use dry sponge pads to clean brushes quickly—water shortens their lifespan. Highlight nose subtly with matte powder from brows to tip—no harsh contour needed. Wait until lash glue turns tacky—then apply just above your natural lash line. Tap base in with cushion puff for better adherence + reduced morning puffiness. Mix foundation with oil or lotion for a smoother, cream-skin effect—even overnight. #beauty #makeup #makeuptips

19 Makeup Tricks Only Experience Can Teach You
Elizabeth Phillips

What I Learned After 5 Years of Makeup: The Truth Behind Beauty Tutorials

After five years of doing my own makeup, I’ve realized something important: most beauty tutorials are less about teaching technique—and more about showcasing naturally beautiful people. Many beauty influencers already have strong facial features or balanced bone structure. Once their skin tone is evened out and lashes curled, they look stunning—but it’s not the makeup alone. If your facial features need more structure (hooded eyes, puffiness, flat profile, etc.), you’ll learn best from tech-based creators who share your facial challenges. Don’t just follow what looks good—follow what’s replicable for your face. A tutorial that’s easy to follow and matches your features will do more for your growth than 100 glam videos that only suit others. Every face is beautiful. The goal is to unlock your version of it—through smart, personal techniques. #beauty #makeup #makeuptips

What I Learned After 5 Years of Makeup: The Truth Behind Beauty Tutorials
PhotonPulse99

The Secret to Makeup That Actually Looks Like Your Skin

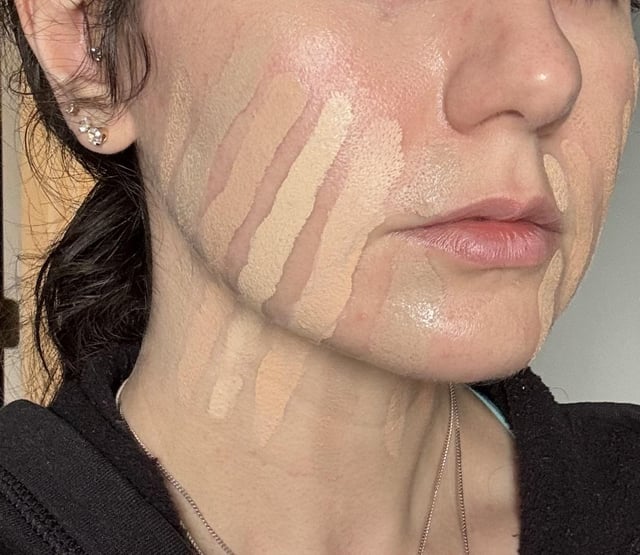
Staring at my reflection in the Sephora mirror, I realized my foundation never quite matched—too yellow, too pink, always off. Turns out, knowing your overtone (the shade you see) and your undertone (the subtle warmth or coolness beneath) is the real game-changer. 🪞 Natural light is your best friend for this—check your skin near a window, not under harsh store lights. 📄 Hold white paper next to your face: yellow = warm, pink = cool, neither = neutral. 💙 Check your veins: blue/purple = cool, green = warm, both = neutral. 
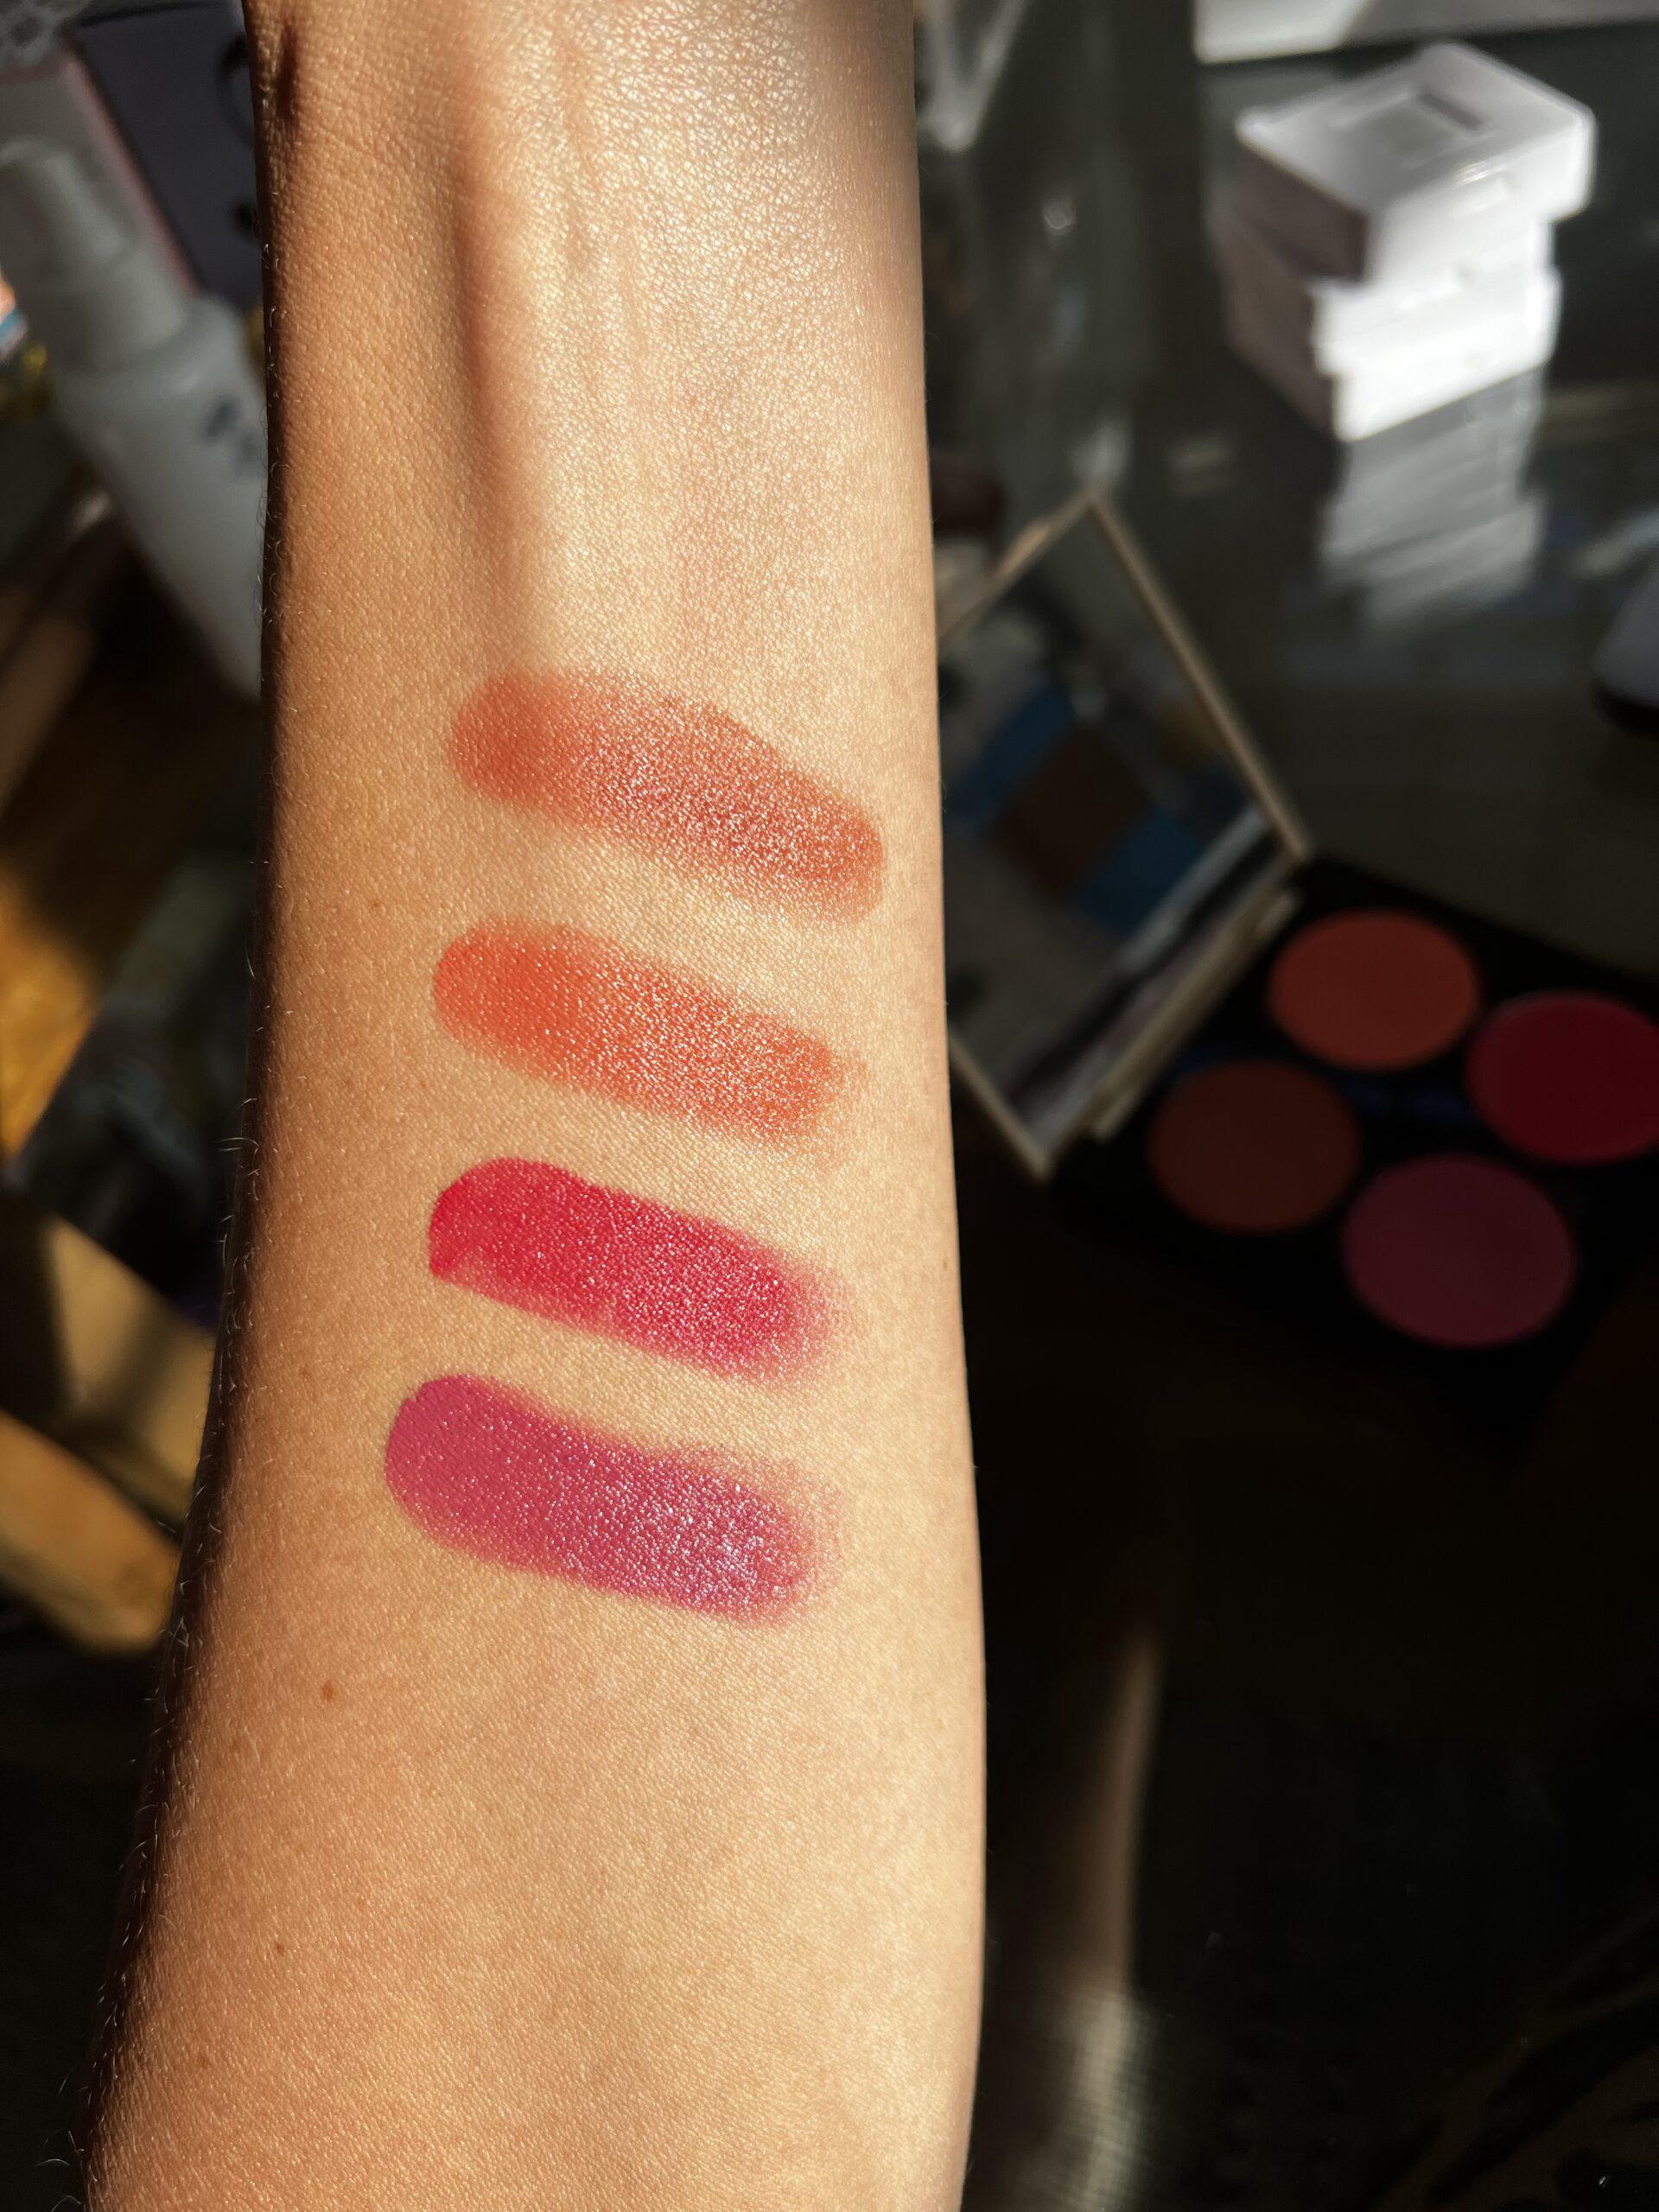
The right match makes everything—foundation, blush, even lipstick—just melt into your skin. What’s your undertone saga? Ever had a shade disaster? #makeuptips #beautybasics #personalbranding #Beauty #Makeup

The Secret to Makeup That Actually Looks Like Your Skin
RadianceRover

Blush That Actually Looks Like Skin—Not Stage Makeup

My first blush disaster? A streaky pink stripe in my 8th grade yearbook photo. Blush can be magic, but only if you know where and how to sweep it on your face. 🧴 Start with a fresh, moisturized base—think of it as prepping your canvas for art. 🖌️ For powder blush, swirl a fluffy brush, tap off extra, and sweep color from cheekbones up toward your temples—never circles, unless you want clown-core. 🫦 Cream or gel blush? Dab with your ring finger, then blend with a brush for a seamless flush. 💡 Layer cream under powder for blush that lasts through brunch and beyond. The real trick: blend until you can’t see where the blush ends. What’s your go-to blush formula—powder, cream, or tint? #makeuptips #blushhack #beautybasics #Beauty #Makeup

Blush That Actually Looks Like Skin—Not Stage Makeup
QuartzQuasar

Bronzer Gone Wrong? Here’s How to Nail That Sun-Kissed Glow Every Time!

Ever looked in the mirror after bronzing and thought, “Why do I look orange instead of radiant?” Been there! Here’s how I finally cracked the code for a natural, sun-kissed look (not a streaky mess): 💡 Start with a smooth canvas: Cleanse, moisturize (with SPF!), and even out your skin with foundation and concealer. This keeps bronzer from clinging to dry patches or looking patchy. 📌 Choose wisely: Go just 1–2 shades darker than your skin. Test on your wrist first—if it looks muddy or orange, try again! ✅ Apply in a “3” shape: Sweep bronzer from your forehead, to your cheekbones, then along your jawline. Blend, blend, blend—especially at the edges and down your neck for a seamless finish. ⚠️ Don’t forget to blend: Use a clean brush or a touch of translucent powder to erase harsh lines. Finish with a spritz of setting spray for all-day glow. Ready to glow up? What’s your biggest bronzer struggle—color matching or blending? #MakeupTips #FashionStorytelling #ContentCreator #BeautyBasics #PersonalBranding #Beauty #Skincare

Bronzer Gone Wrong? Here’s How to Nail That Sun-Kissed Glow Every Time!
EnigmaEclipse

Stop the Mask Effect: Find Your True Foundation Match (No More Orange Jawlines!)

Ever left the house thinking your foundation was flawless—only to catch a glimpse in daylight and realize your face is a totally different color from your neck? Been there, regretted that! 💡 First, get to know your undertone (cool, warm, or neutral). Why? Because matching undertone = foundation that melts into your skin, not sits on top. Try the vein test: blue veins = cool, green = warm, can’t tell = neutral. 📌 Always swatch on your jawline, not your hand! Your jawline shows how the shade blends with both your face and neck—no more harsh lines. ⚠️ Don’t trust store lighting. Step outside or near a window to check the shade in natural light. You’ll thank yourself later! ✅ If you’re stuck between two shades, blend them or adjust at home with a bit of moisturizer (to lighten) or bronzer (to deepen). Customizing is your secret weapon! Finding your perfect shade is a game-changer. What’s your biggest foundation struggle—undertone confusion or shade matching? #MakeupTips #FashionStorytelling #BeautyBasics #ContentCreation #PersonalBranding #Beauty #Makeup

Stop the Mask Effect: Find Your True Foundation Match (No More Orange Jawlines!)
RadiantRiddle

Shrink Your Eyes (Visually!): My Go-To Makeup & Lifestyle Tricks

Ever felt like your eyes steal the spotlight a little too much? I used to overdo shimmery shadows and wondered why my eyes looked even bigger! Here’s what actually works if you want a subtler gaze: 💡 Tightline your waterlines with a dark, waterproof liner—this instantly makes eyes look deeper-set and less round. Careful not to poke yourself (been there, done that 😅)! 📌 Swap sparkly shadows for matte, darker tones. Blend them on the outer corners for a shadowy effect—think soft browns for day, charcoal for night. ⚠️ Puffy eyes? Cut back on salty snacks and try a quick cucumber chill session. Less puff = less eye real estate! ✅ If you’re considering surgery, always consult a pro and weigh your options. Makeup magic is usually enough! Would you try these tricks, or do you love your bold eyes as-is? #MakeupTips #BeautyHacks #ContentCreation #PersonalBranding #FashionStorytelling #Beauty #Makeup

Shrink Your Eyes (Visually!): My Go-To Makeup & Lifestyle Tricks
SereneSapphire

Glow Up Instantly: My Secrets for Flawless Highlighter Placement (No More Glitter Mishaps!)

Ever looked in the mirror and wondered why your highlighter looks more like a disco ball than a subtle glow? Been there! Here’s how I finally nailed that lit-from-within look: 💡 Start with a smooth base—foundation and concealer first! This helps your highlighter pop in all the right places (not on random dry patches). 📌 For bright, awake eyes, dab a touch of highlighter on the inner corners and sweep a bit under your brow bone—trust me, it’s like 8 hours of sleep in 10 seconds. ✅ Want fuller lips? Tap a tiny bit on your cupid’s bow (right above your upper lip) and the center of your chin. It’s a game-changer for lip selfies! ⚠️ The biggest mistake: using too much. A little goes a long way—especially on your nose and forehead. Just a gentle sweep down the bridge and on the tops of your cheekbones for that effortless glow. Ready to try? Where do you love your highlight most—cheeks, nose, or eyes? Drop your fave spot below! #MakeupTips #ContentCreator #BeautyStory #PersonalBranding #GlowUp #Beauty #Makeup

Glow Up Instantly: My Secrets for Flawless Highlighter Placement (No More Glitter Mishaps!)
Tag: MakeupTips | zests.ai