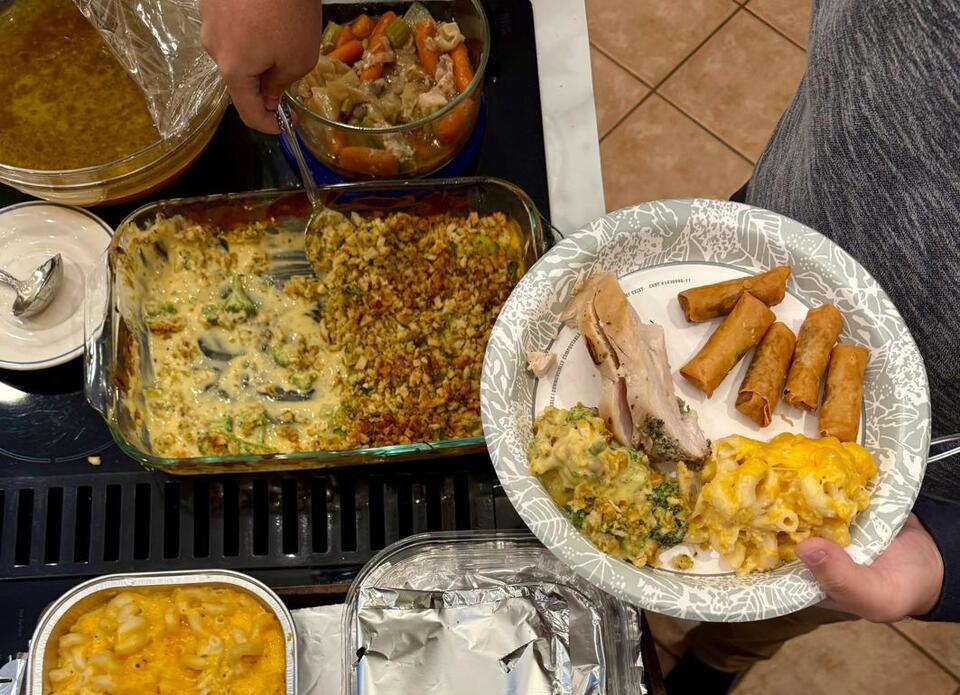
Broccoli-cheese casserole: The holiday MVP
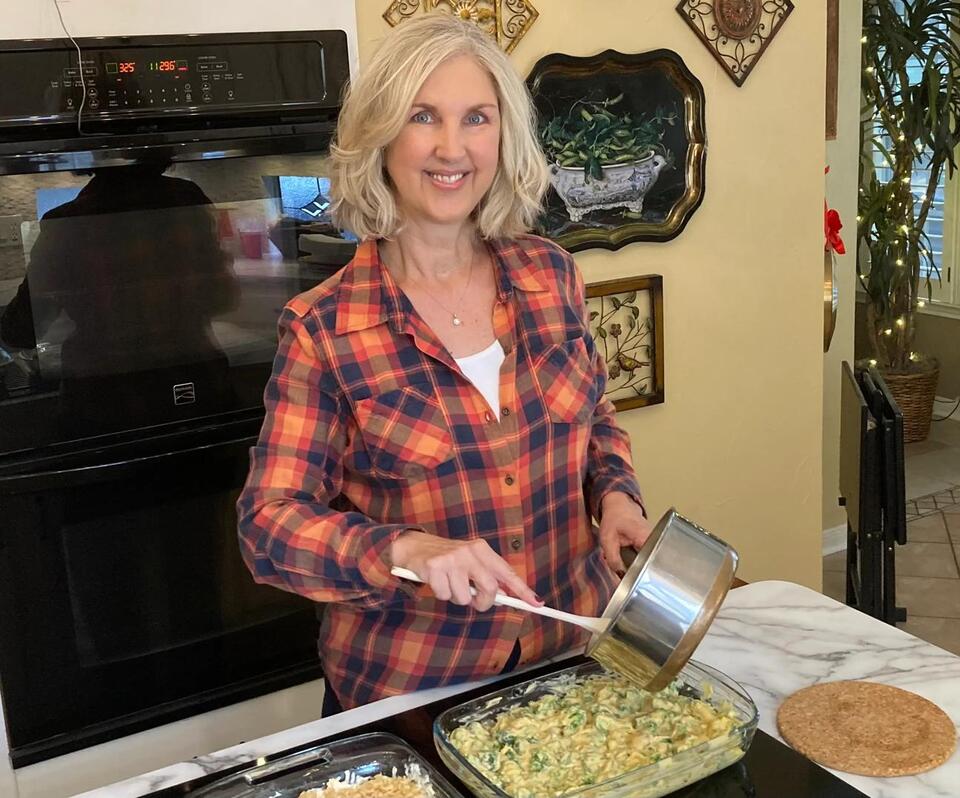
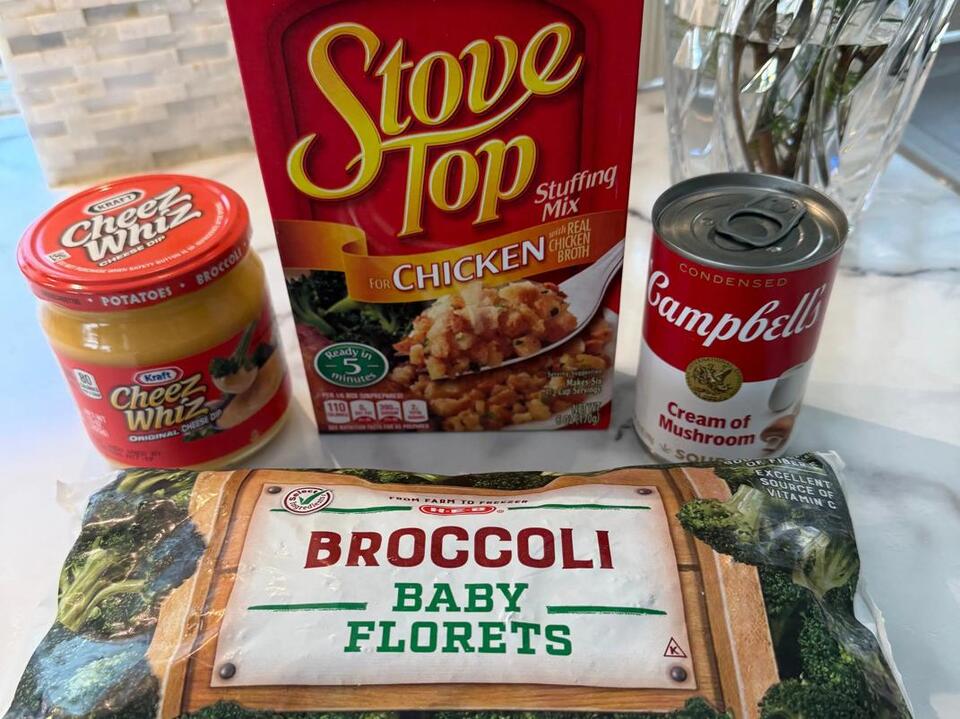
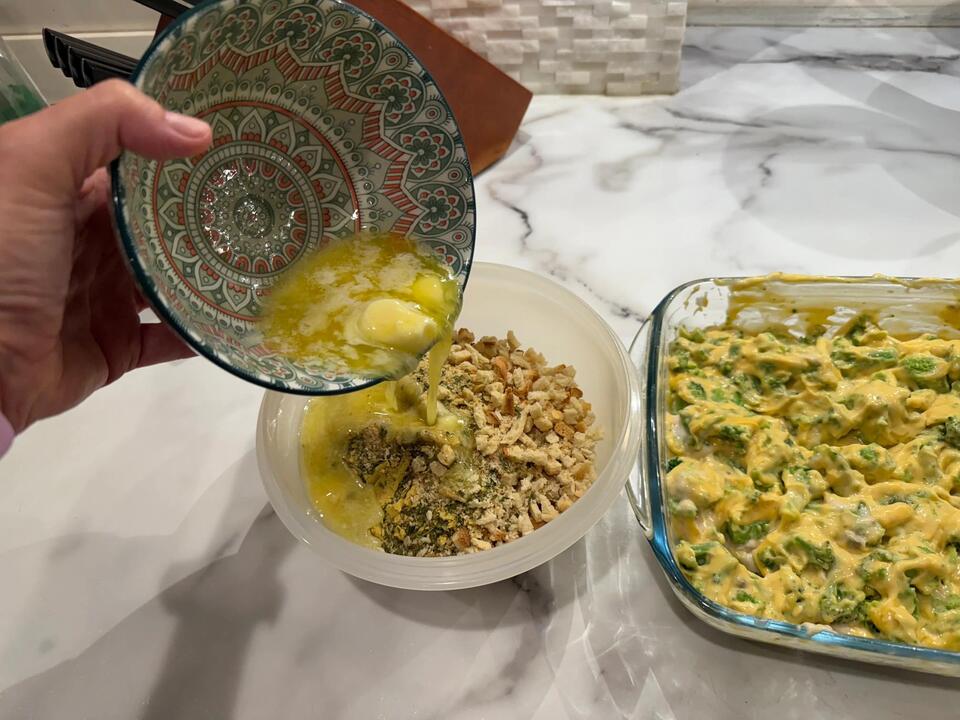
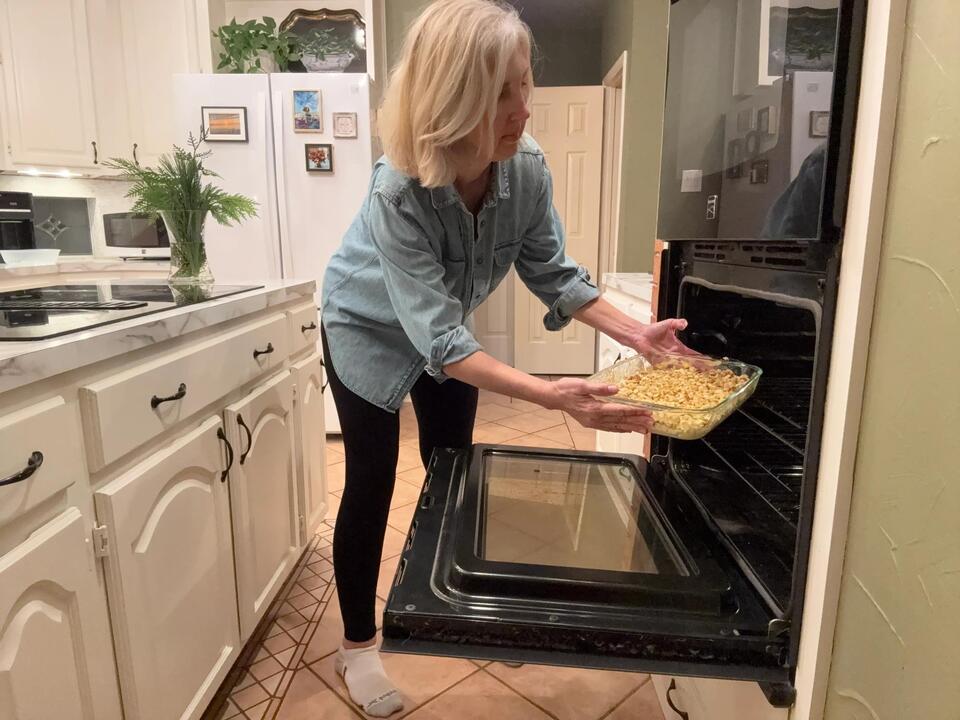
Every holiday, this broccoli-cheese casserole is the first dish to vanish from the table—no joke. It’s just four ingredients: frozen broccoli, cream of mushroom soup, Cheez Whiz, and stuffing mix. You mix, top with buttery crumbs, and bake. It’s super affordable, takes 10 minutes to prep, and you can make it ahead (a lifesaver for busy days). Even picky eaters and coworkers with special diets have gone back for seconds. If you’re looking for a side that’s simple, adaptable, and always a hit, this is it. Anyone else have a go-to dish that never fails?
#Food #HolidayCooking #EasyRecipes