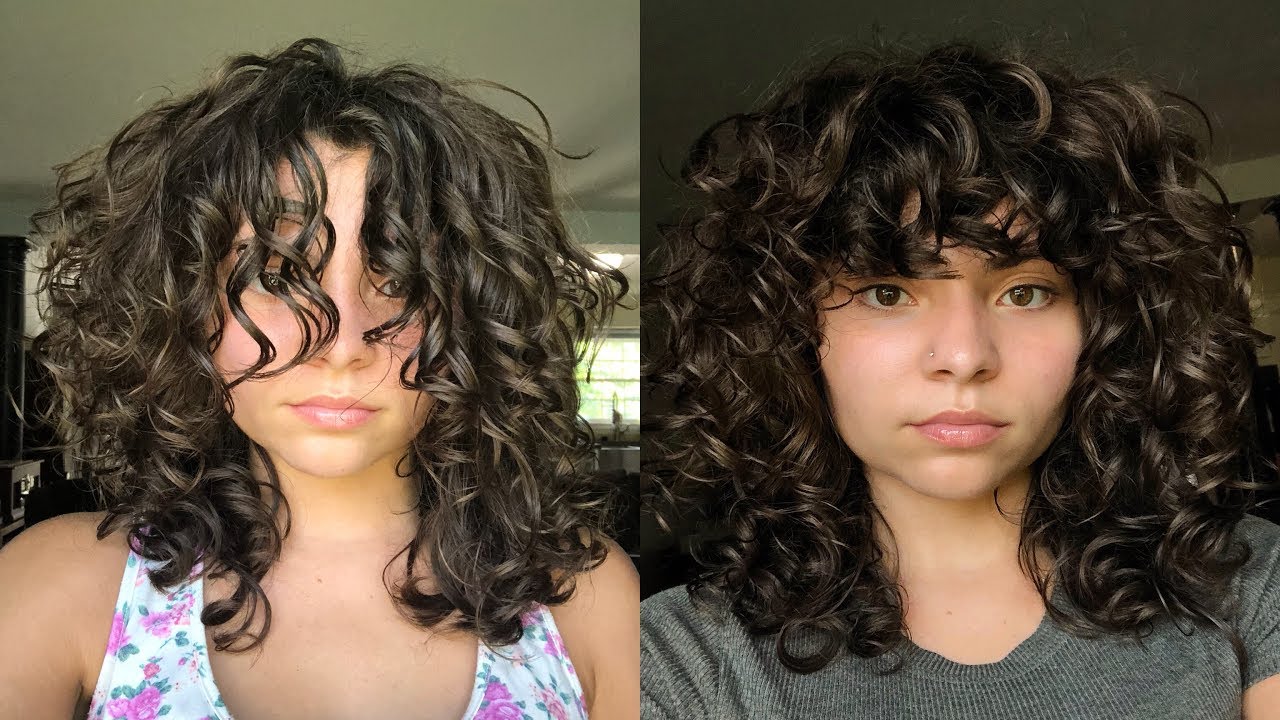
Tired of Dark Hair Dye? Here’s How to Lighten Up Without Wrecking Your Hair!
Ever tried to go lighter after a deep, dark dye job—only to end up with hair that’s even darker or, worse, totally fried? 🙋♀️ Been there! Here’s how to switch things up without regrets:
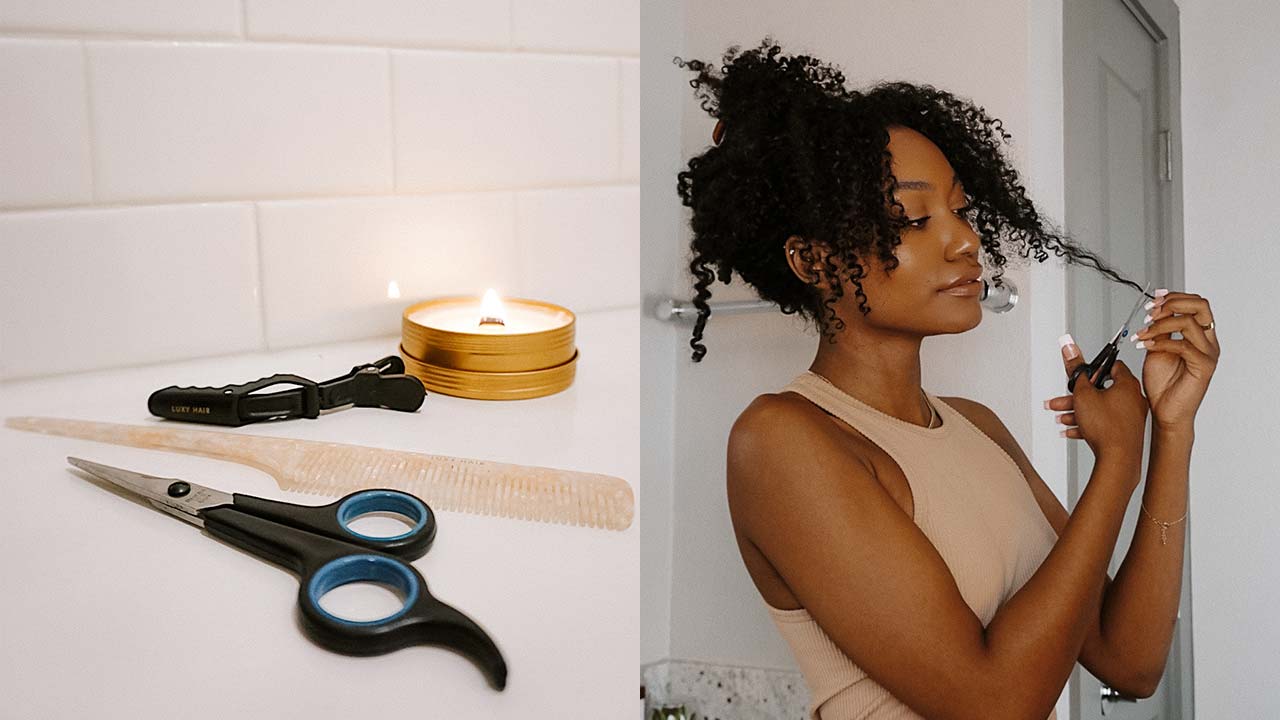
💡 Want a subtle change? Highlights or hair makeup are your BFFs! They add dimension and fun pops of color—no full commitment, no harsh lines. I love using hair makeup for a weekend switch-up (it washes right out!).
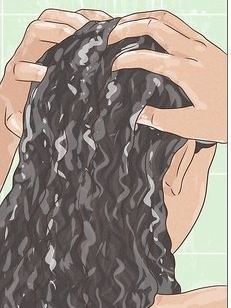
⚠️ Need to lighten a few shades? Clarifying shampoo or color remover can gently fade that stubborn dye. Pro tip: Add a little heat with a hair dryer for extra lift, but always deep condition after—trust me, your hair will thank you!
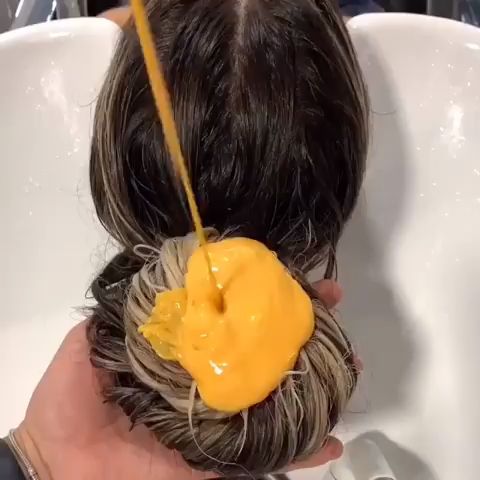
✅ Going bold? Bleach is the big guns. Prep with deep conditioning, section your hair, and always do roots last (they lighten fastest!). Don’t rush—healthy hair is always in style.
In short: There’s a smart way to lighten up, no matter your vibe. Would you try highlights first, or go straight for a bold bleach?
#HairTransformation #FashionStorytelling #BeautyHacks #PersonalBranding #ContentCreation #Beauty #HairCare