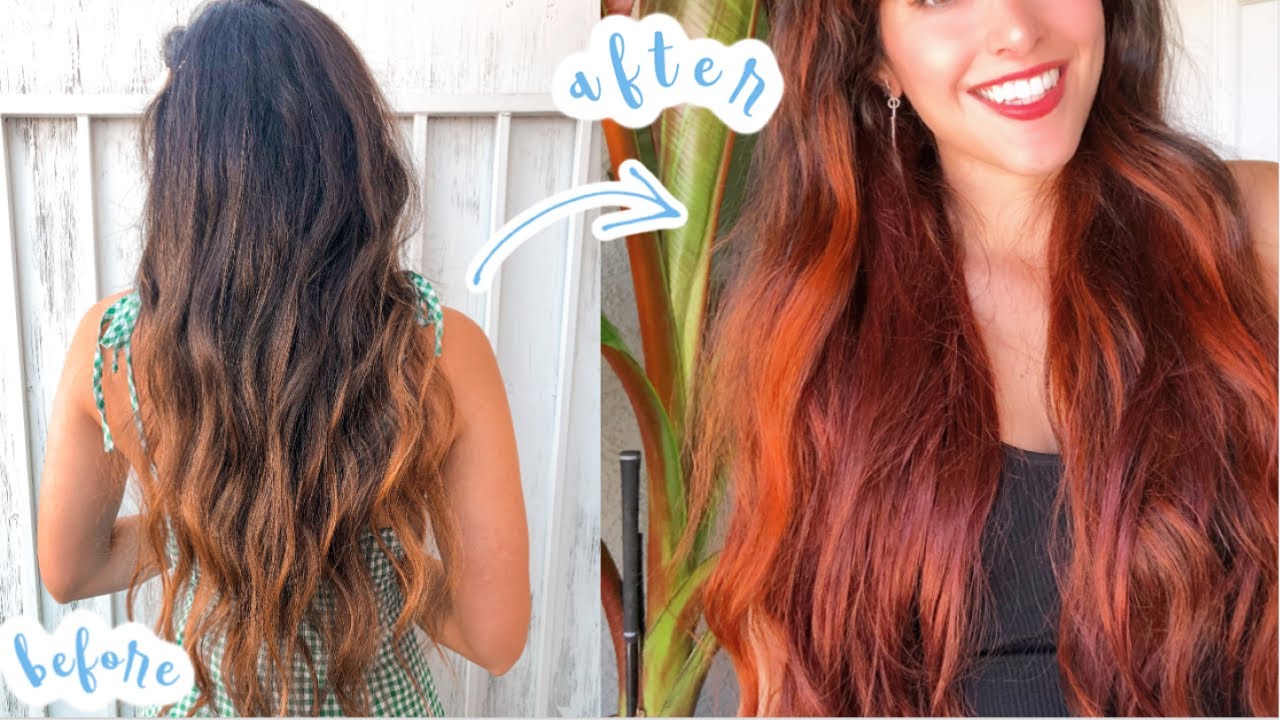
Wake Up With Gorgeous Crimped Hair—No Heat, No Damage!
Ever fried your hair with a crimper, only to end up with frizz instead of fabulous? Been there! Here’s how I finally got dreamy, heat-free crimps overnight (and trust me, it’s a game-changer):
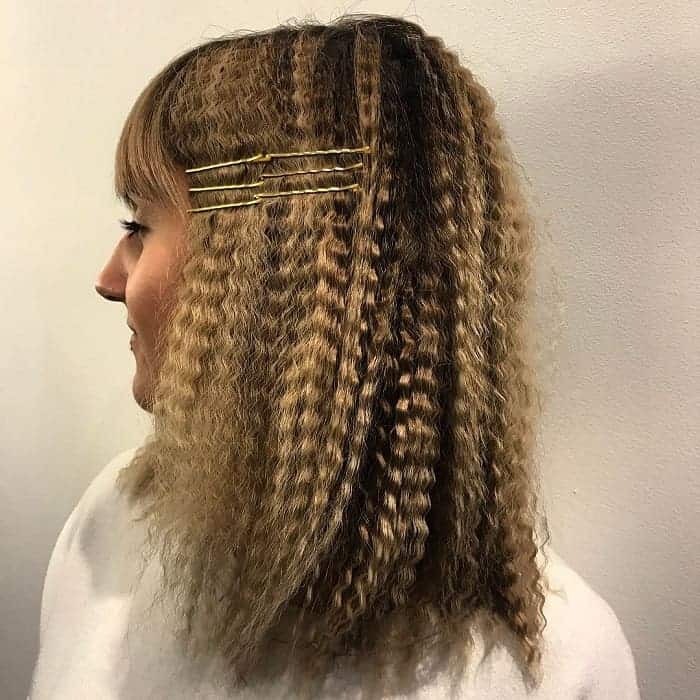
💡 Braids Before Bed: After showering, let your hair air-dry until just damp. Braid it up—tiny braids for tight crimps, chunky ones for beachy waves. Why? Damp braids set the texture as you sleep, no heat needed!
📌 Curling Rods for Drama: Twist sections around bendy rods and secure. The tighter you wrap, the bolder the crimp. Sleeping in a silk scarf keeps frizz at bay (and feels so luxe).
✅ Headband Hack: Wrap damp hair around a soft headband, sleep, and wake up to effortless waves. Perfect for those who toss and turn!
Ready to ditch the heat and wake up with Insta-worthy texture? Which method are you trying tonight—braids, rods, or headband?
#FashionHacks #NoHeatCurls #ContentCreatorTips #PersonalBranding #HairStory #Beauty #HairCare